If you want to connect your computer to the ZimaCube using a Thunderbolt cable for faster connection speeds, you can follow these steps:
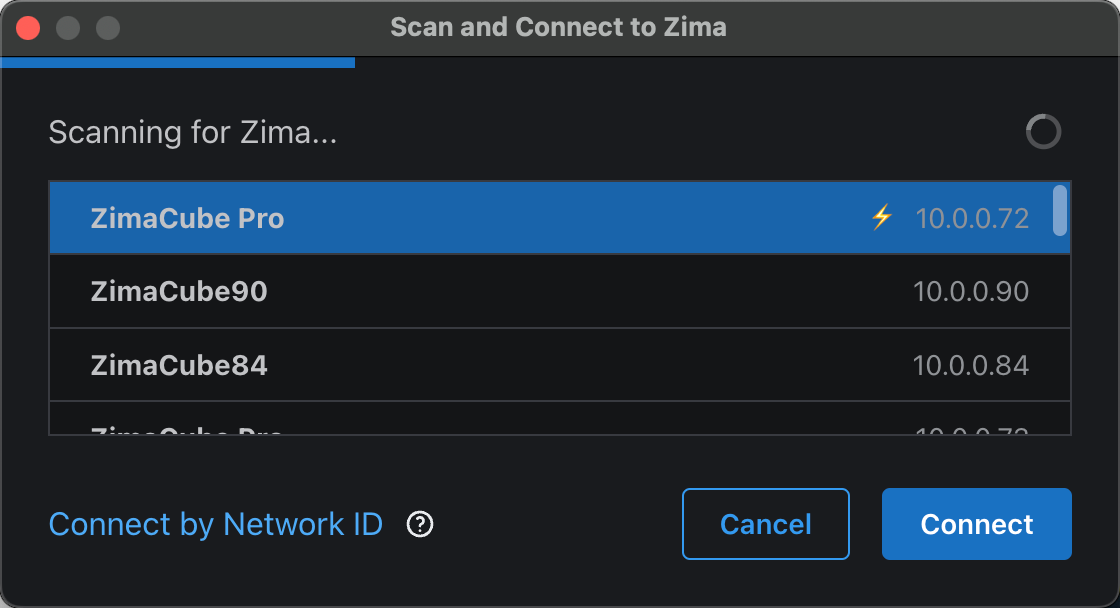
- If you have not yet connected to ZimaCube using ZimaClient, please refer to this documentation to download and install ZimaClient. ZimaClient will prioritize and identify devices with Thunderbolt connections during the initial scan.
1. Plug in TB Cable
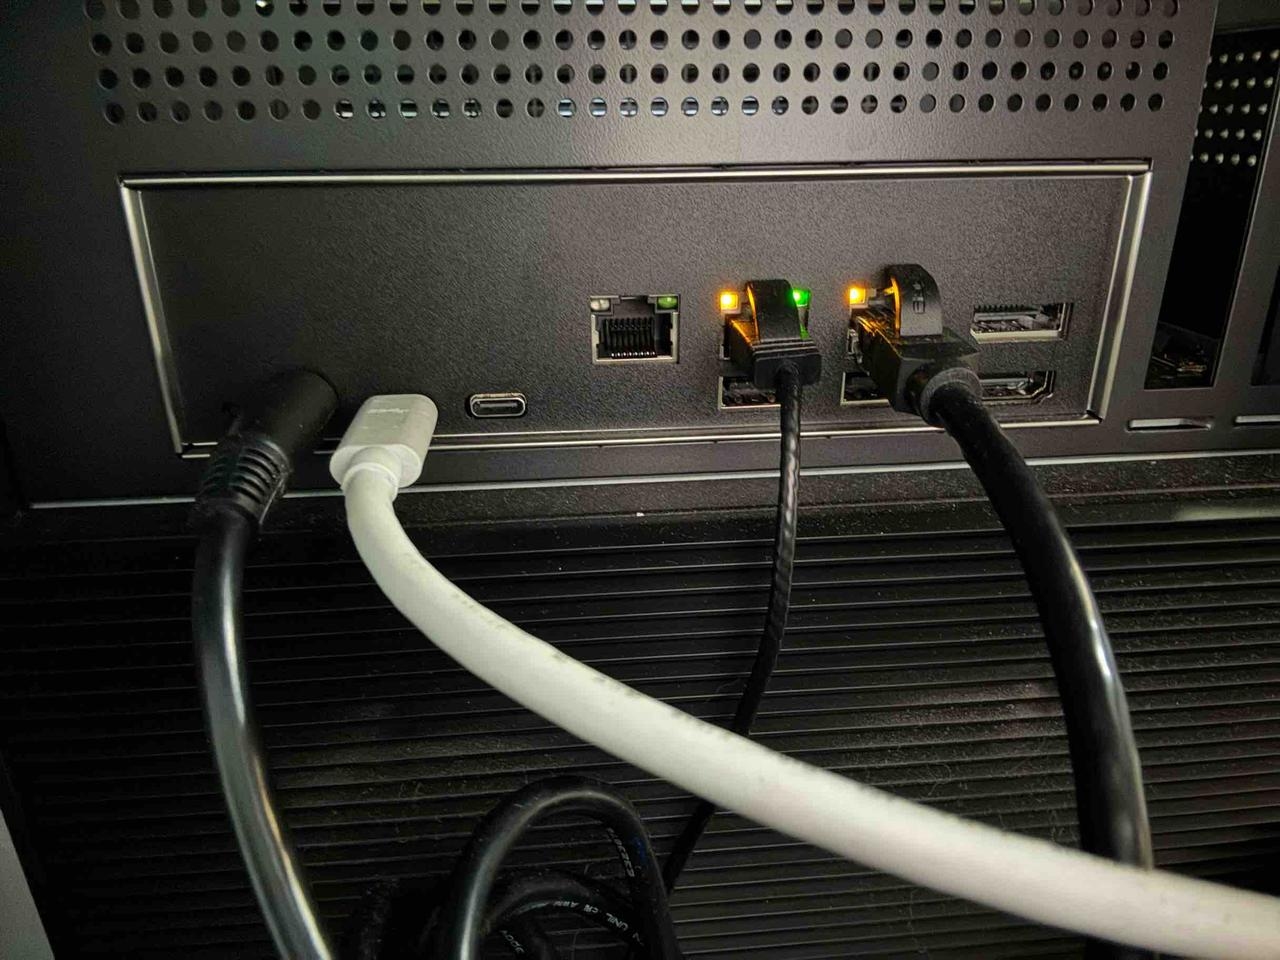
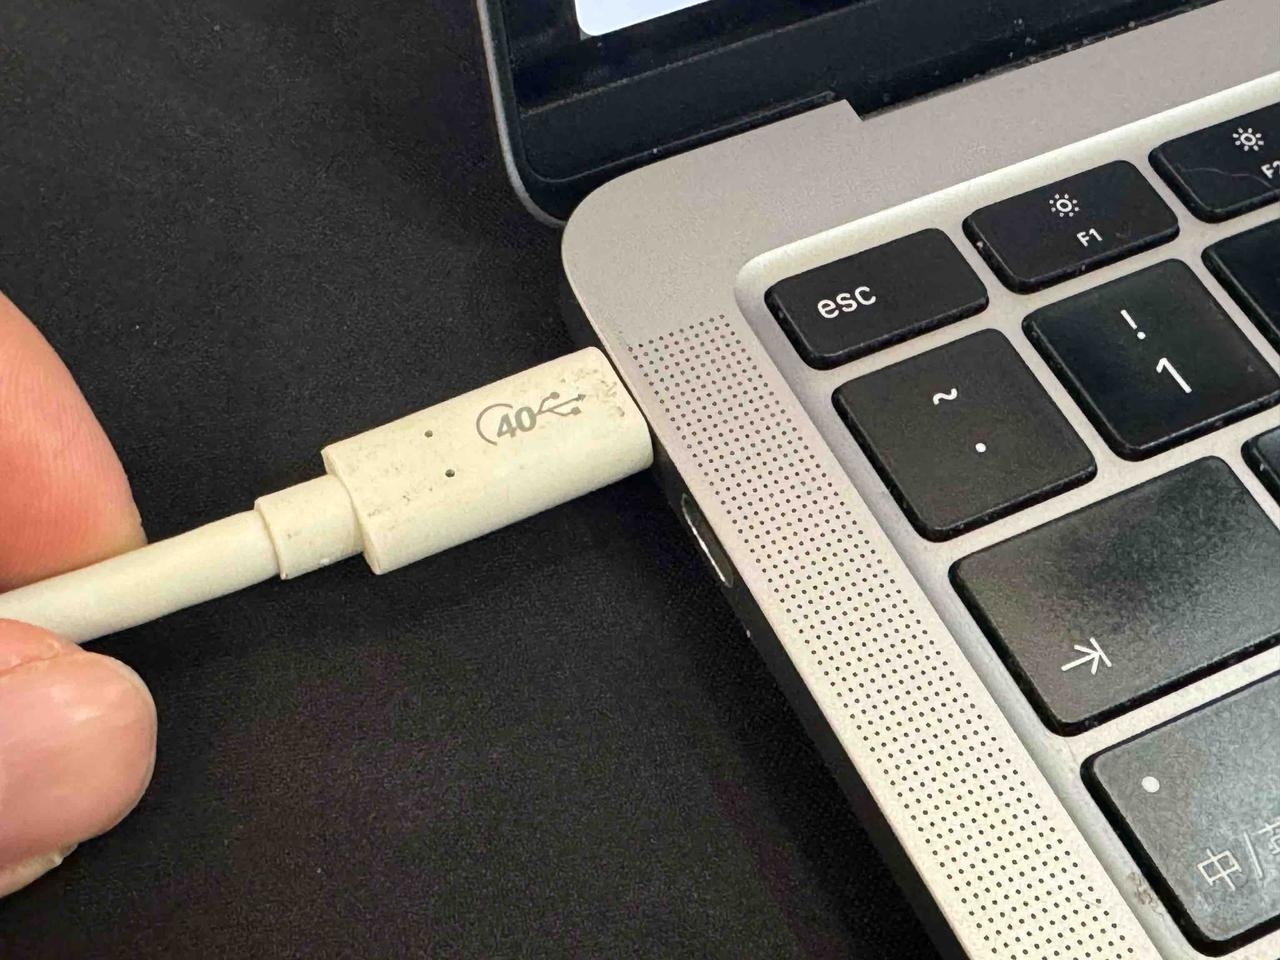
- Connect one end of the Thunderbolt cable to the Thunderbolt port on the back panel of the ZimaCube (either of the two ports) and the other end to your computer’s Thunderbolt port.
- a. Thunderbolt Cable: Requires a Thunderbolt 3 or Thunderbolt 4 standard cable; shorter cables provide better transmission stability and speed.
- b. Note: The front panel ports of ZimaCube Pro do not support Thunderbolt functionality, and ZimaCube itself does not support Thunderbolt functionality.
 |
 |
|---|---|
| 1.1 Connect the Thunderbolt cable to the back panel of the ZimaCube | 1.2 Connect the other end to your computer’s Thunderbolt port. |
2. Setting
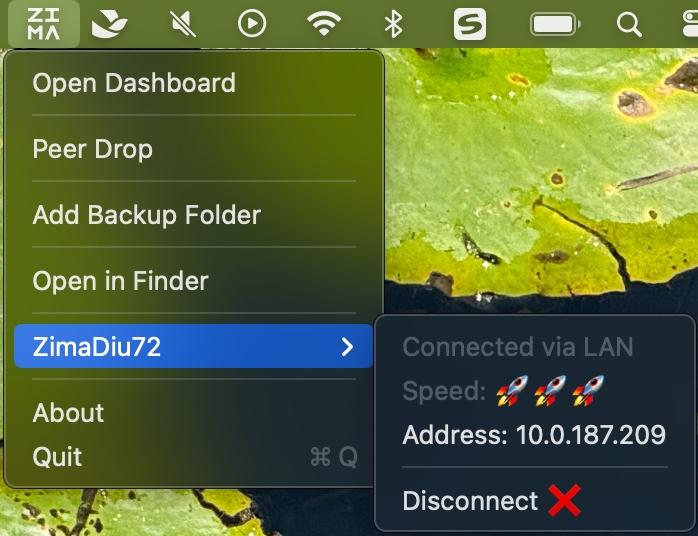
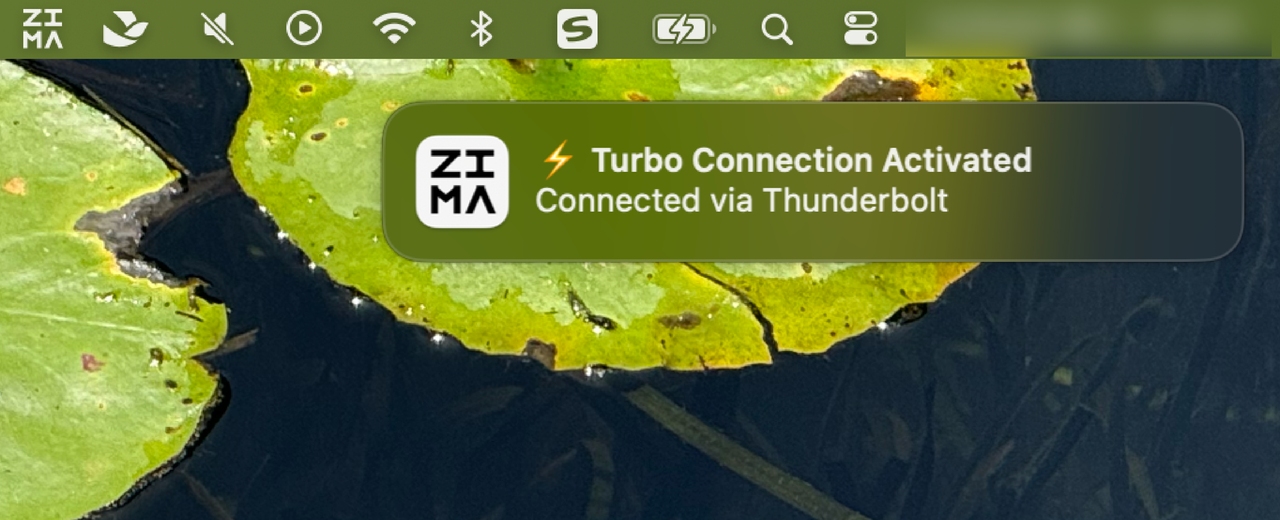
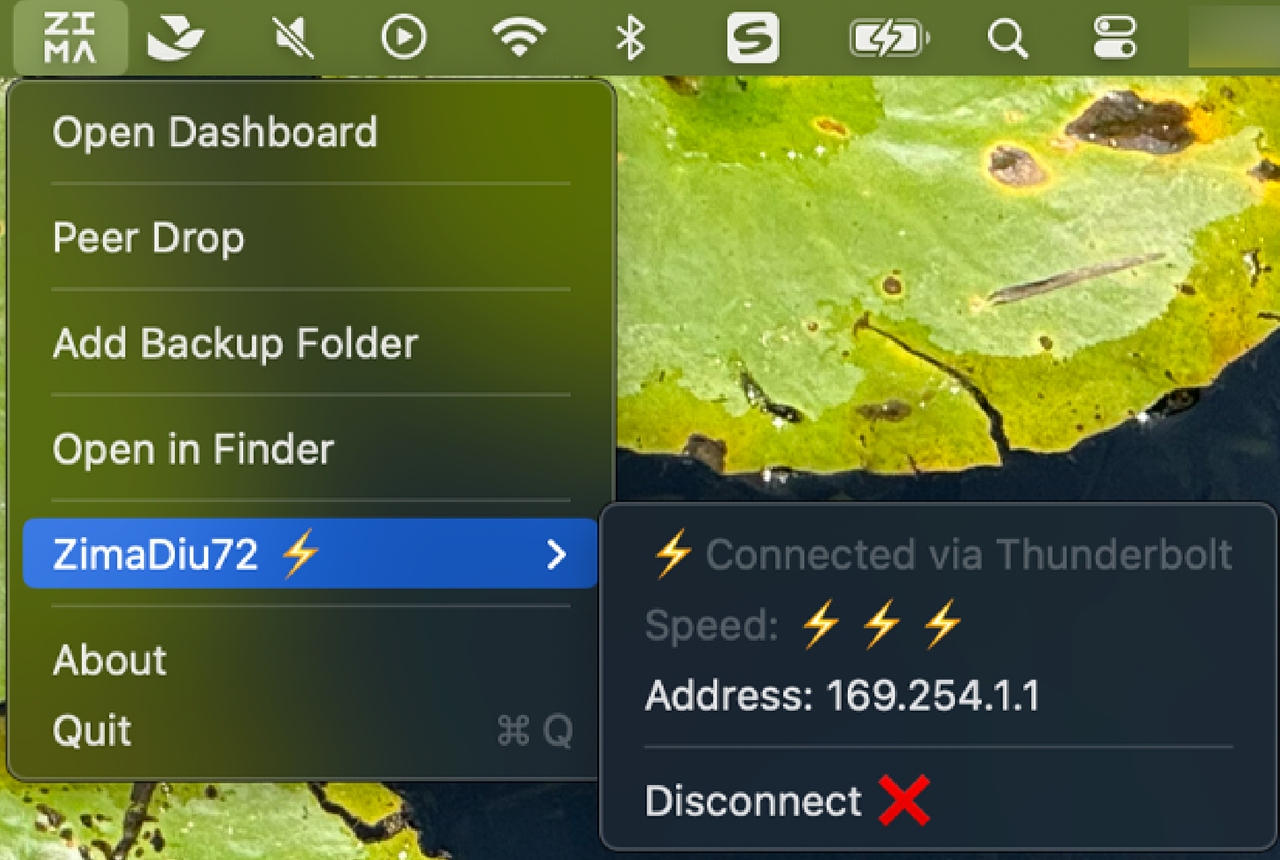
- After plugging in the cable, ZimaClient will automatically adapt and switch to the Thunderbolt connection.
- If you have not yet connected to ZimaCube using ZimaClient, please refer to the documentation to download and install ZimaClient.
 |
 |
 |
|---|---|---|
| 1. Before inserting the Thunderbolt cable For example: IP address 10.0.187.209 |
2. Wait for about 2 minutes The Thunderbolt cable will be recognized as inserted. |
3. Successfully connected Thunderbolt cable For example: IP address 169.254.1.1 |
3. Using
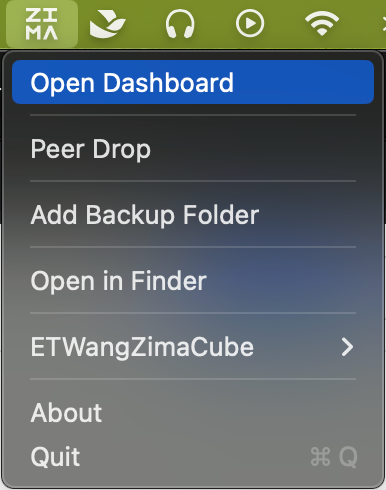
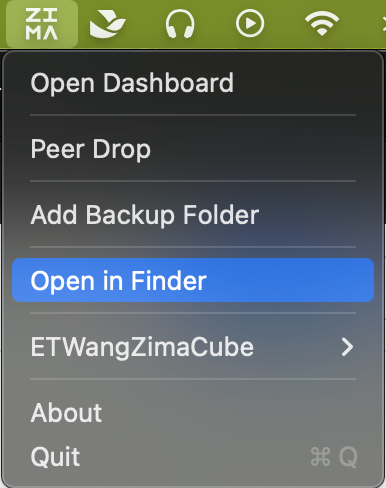
- Based on the new IP address from the Thunderbolt cable connection, reopen the dashboard, set up Samba sharing, and use the corresponding functions.
- Note: When both the Thunderbolt cable and the LAN cable are connected, they will be on two different IP addresses. You need to access the IP address corresponding to the Thunderbolt cable on your computer to benefit from the faster Thunderbolt transmission.
 |
 |
|---|---|
| Reopen the dashboard | Reconfigure Samba sharing |
Troubleshooting (to be completed)
- If the client is not displayed, check the network settings on Mac and Windows.
- If the ZimaCube is plugged into a graphics card, try restarting the ZimaCube and then try again.
FAQ
1. What is ZimaCube? How is it different from external USB storage devices?
- a. ZimaCube is a personal cloud device that surpasses DAS connectivity under similar speed conditions. It has both NAS and DAS capabilities, allowing fast connections to personal computers via Thunderbolt 4 cables while maintaining an independent internet connection for ZimaCube.
- b. Unlike USB storage devices, ZimaCube has its own motherboard and CPU; it is not just a storage device. Therefore, when connected to a personal computer via Thunderbolt cable, it establishes a Thunderbolt network connection and is displayed as a Thunderbolt bridge device rather than a USB storage device. Connecting ZimaCube to a personal computer does not affect ZimaCube’s operation or its internet connection; it operates simultaneously as both NAS and DAS.
- c. Connecting ZimaCube to a personal computer via Thunderbolt bridge does not result in slower speeds compared to external USB storage devices. The connection speed mainly depends on the cable and hard disk. However, if ZimaCube is simultaneously connected to LAN and Thunderbolt cables, the personal computer can connect to ZimaCube via either method. With ZimaClient installed, it will automatically switch to the faster connection. If you connect manually, ZimaCube will appear as two IPs (devices) on the network.
2. Is Thunderbolt 4 the fastest connection on ZimaCube Pro?
- Yes.
3. Are there features on ZimaCube Pro that can only be used via Thunderbolt?
- TB4 supports all expansion functions, such as external displays, storage devices, USB peripherals, PCIe devices, networking, and charging.
4. Do I need to install additional drivers when using Thunderbolt 4?
- ZimaOS installed on ZimaCube already has the drivers.
- The client must ensure that the drivers are installed and up to date.
5. Why is the file transfer speed the same as my LAN speed when both Thunderbolt 4 and LAN are connected? Why not Thunderbolt 4? (Mac)
- When both Thunderbolt and LAN are connected, macOS defaults to using the LAN network instead of TB4.
- This is a system mechanism issue with macOS. ZimaOS is working on optimizing this. In the meantime, it is recommended to disconnect the LAN network and only connect via TB4.
6. What should I do if file transfer speeds via SMB or file sharing are very slow?
- Install ZimaClient. ZimaClient will automatically switch to a faster connection. After switching, remember to click “Open in Finder/Explorer” again to ensure you are using the Thunderbolt connection.
7. What is the actual speed of Thunderbolt 4 on ZimaCube Pro?
- Speed tests can reach 20Gbps, but actual transfer speeds may decrease due to hard disk limitations, file sizes, and protocols.
8. How can I achieve optimal Thunderbolt 4 speeds on ZimaCube Pro?
- a. Purchase genuine Thunderbolt 4 cables.
- b. Ensure that the hard drives and RAID configuration inside ZimaCube can support read/write speeds greater than 20Gbps.
- c. In macOS, Samba transfer speeds may be limited by Finder.
- d. When transferring a large number of small files, speeds may be limited.
9. What are the differences between Thunderbolt 4 and USB interfaces?
- Please refer to: Intel Comparison
10. What are the troubleshooting steps if the Thunderbolt 4 interface cannot be enabled?
- a. Check device and cable support for TB4, especially the cable.
- b. Can the PC detect the Thunderbolt device when plugged in?
- c. Can ZimaCube connect to other Thunderbolt devices or docks?
11. Are Thunderbolt 4 interfaces and devices backward compatible?
- TB4 is backward compatible with TB3.
12. Can the Thunderbolt 4 port on ZimaCube Pro support Daisy Chain connections?
- Yes.
13. Can I use ZimaCube Pro as a direct Thunderbolt storage device like a regular external hard drive?
- No, unlike USB storage devices, ZimaCube has its own motherboard and CPU, and data transfer will pass through them.
14. Will connecting multiple cables to Mac/PC through the two Thunderbolt 4 ports increase speed?
- No, TB Networking does not support link aggregation like dual Ethernet cables.
Conclusion
No matter your needs, ZimaOS provides flexible and powerful connectivity options to suit any situation. From high-speed direct connections to convenient remote access via WAN, you can manage your devices and data effortlessly. Always consider security measures, especially when dealing with WAN connections, to protect your information and maintain smooth operations.
If you encounter any issues during use, feel free to let us know at any time. You can also join our community and Discord to discuss more about ZimaCube and ZimaOS. We look forward to your feedback!