How to Share and Get files from a NAS? SAMBA may be the most important way
When we talk about Network Attached Storage, we want our files be stored, managed in one place and be accessed from every place. But how is that going?
You can always access your data by visiting ZimaOS’ WebUI, which has a beautifully organized interface and a fluent experience. However, when your work involves files referring, or you need a more complex operation on file system hierarchy, mounting your NAS drives to your client system through technologys like SMB/SAMBA will be a better way.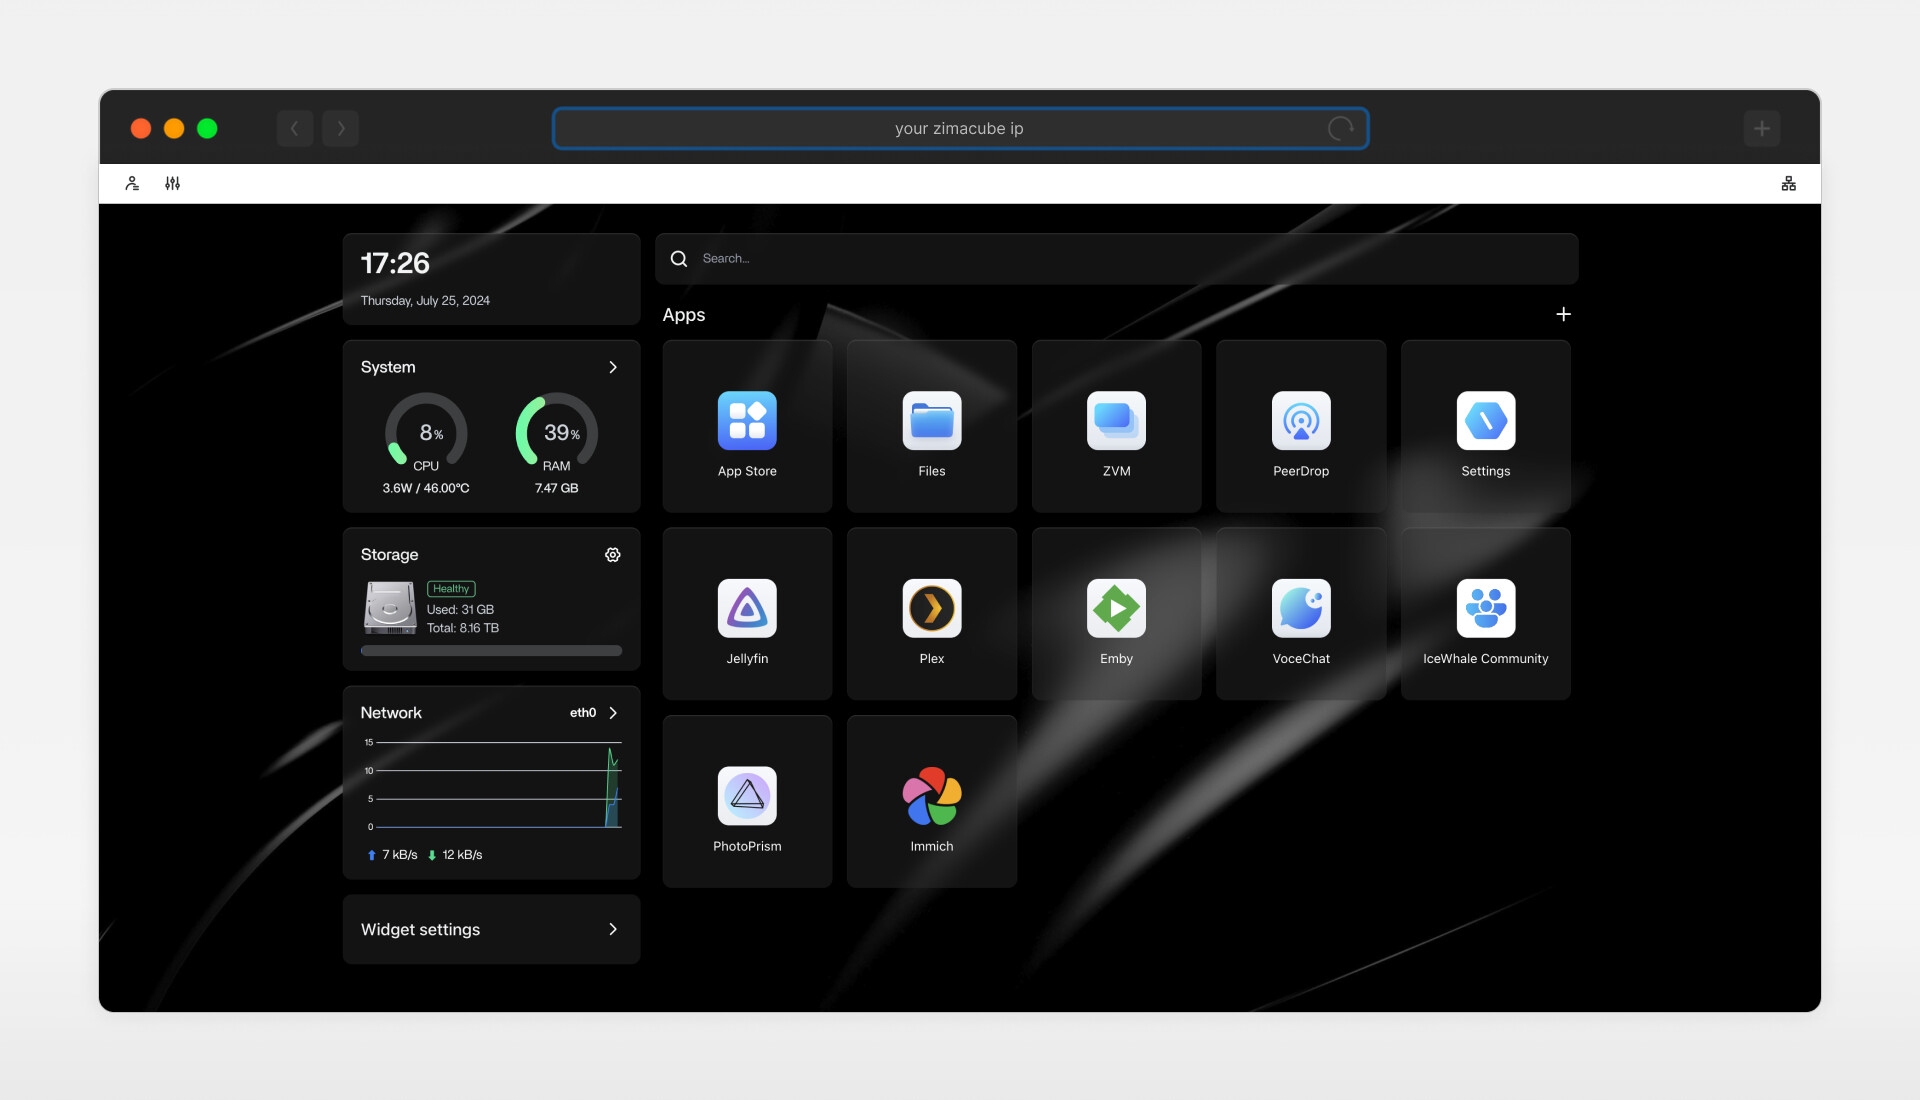
SMB (Server Message Block) is a protocol built into the Windows system for sharing files and other services over the network. SAMBA implements the SMB protocol, which enriches the file sharing methods of *nix-like systems. ZimaOS is equipped with SAMBA, making file sharing and transfer very convenient. In the following content, we will describe both SMB and SAMBA as SMB for convenience purposes.
Create a shared folder on ZimaOS
Launch the Files app on ZimaOS’ dashboard and find the destination folder that carries the files you want to share. Right click on the folder and select Share.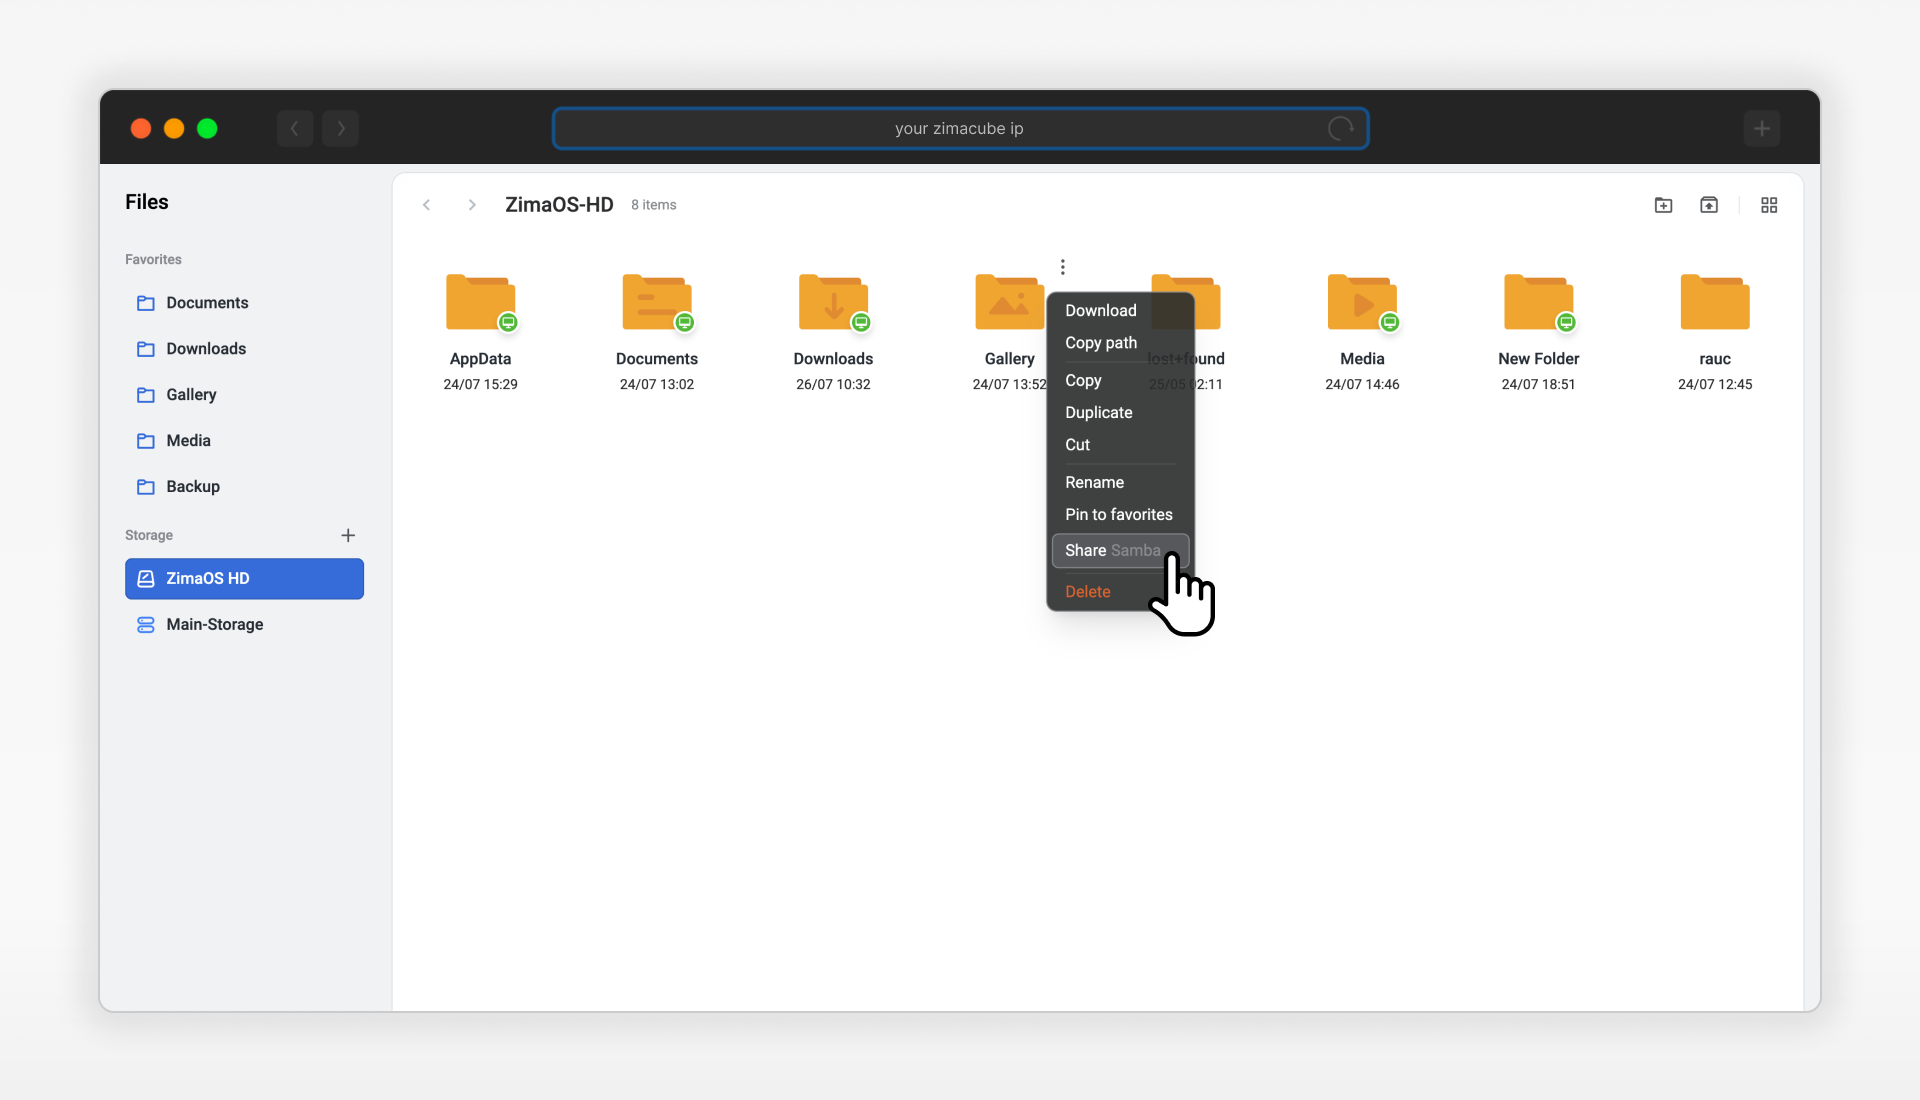
A dialogue window will prompt you with the URLs you need to mount shared folder on corresponding systems.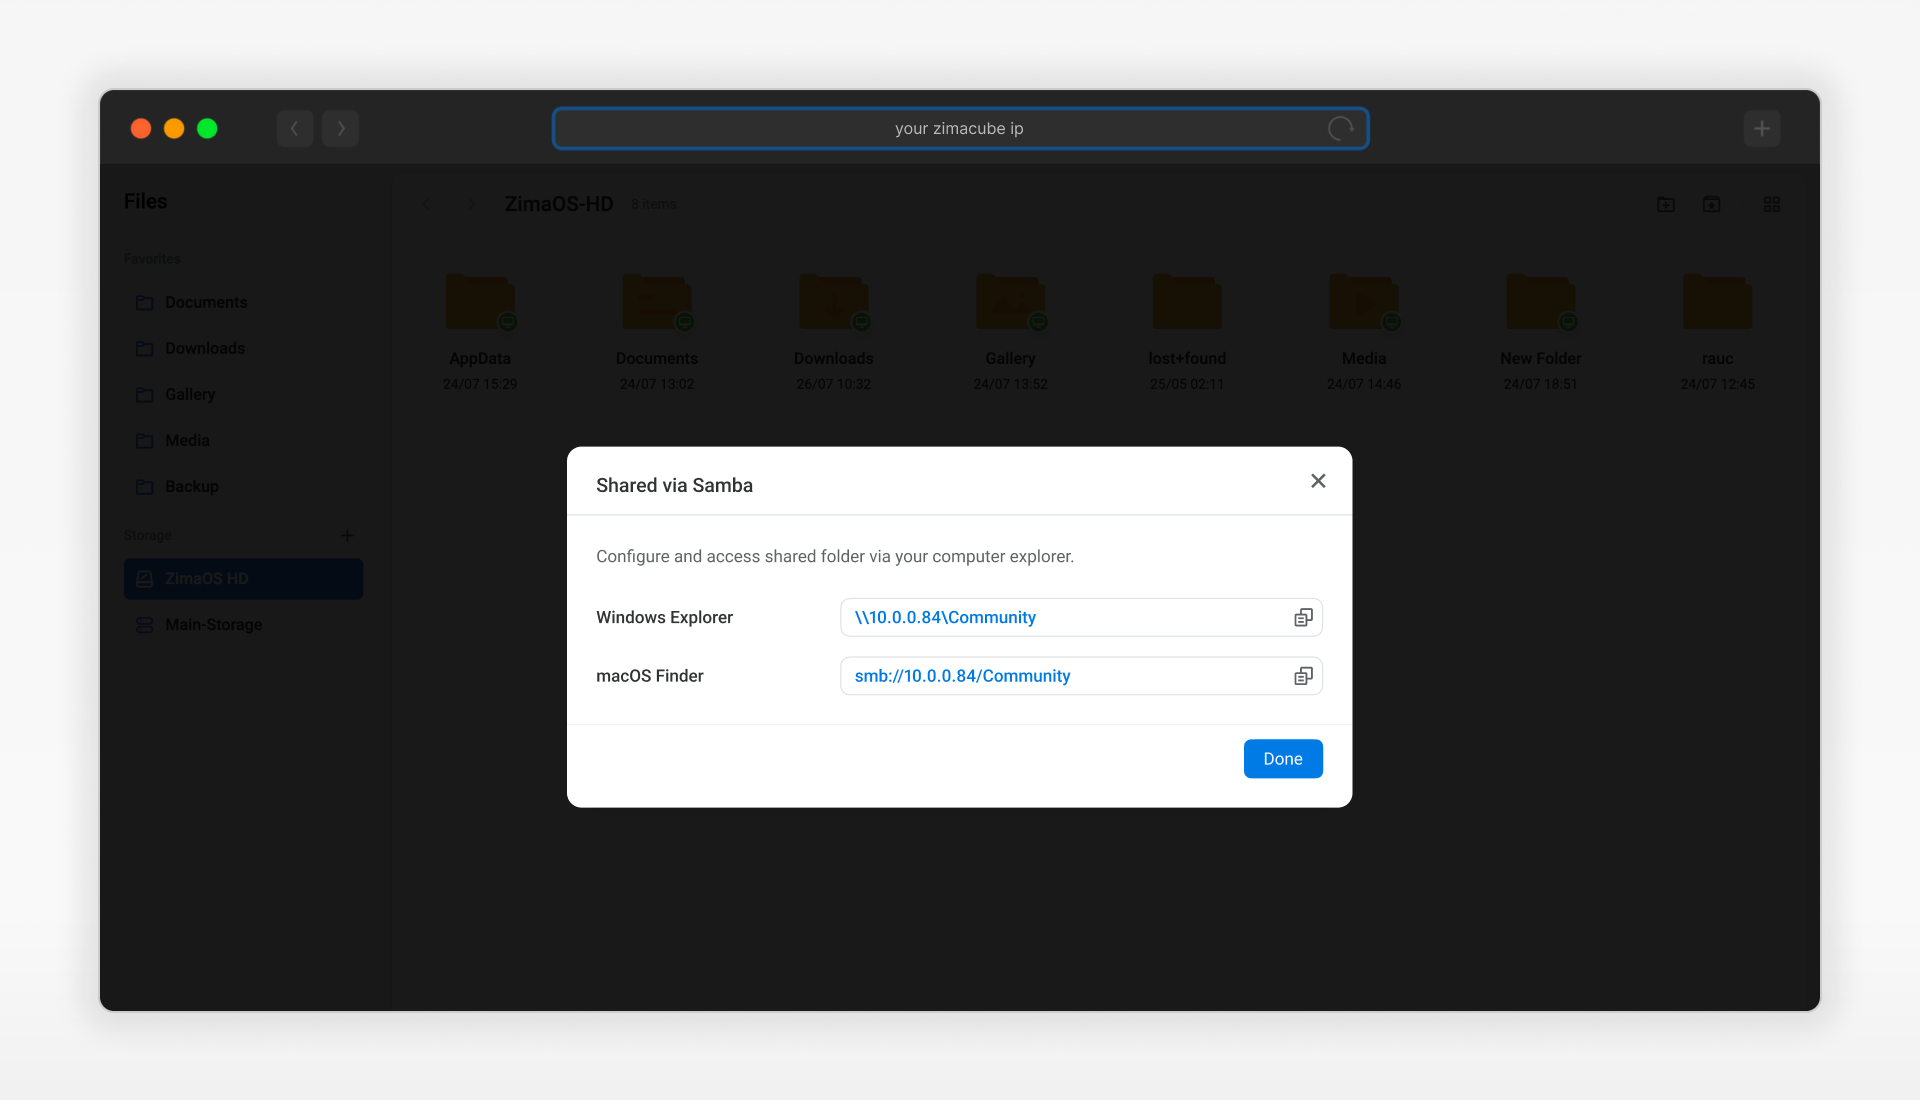
These two URLs are for pro users to manually mount drives. Additionally, with Zima client on corresponding systems, we can make the mounting process easier.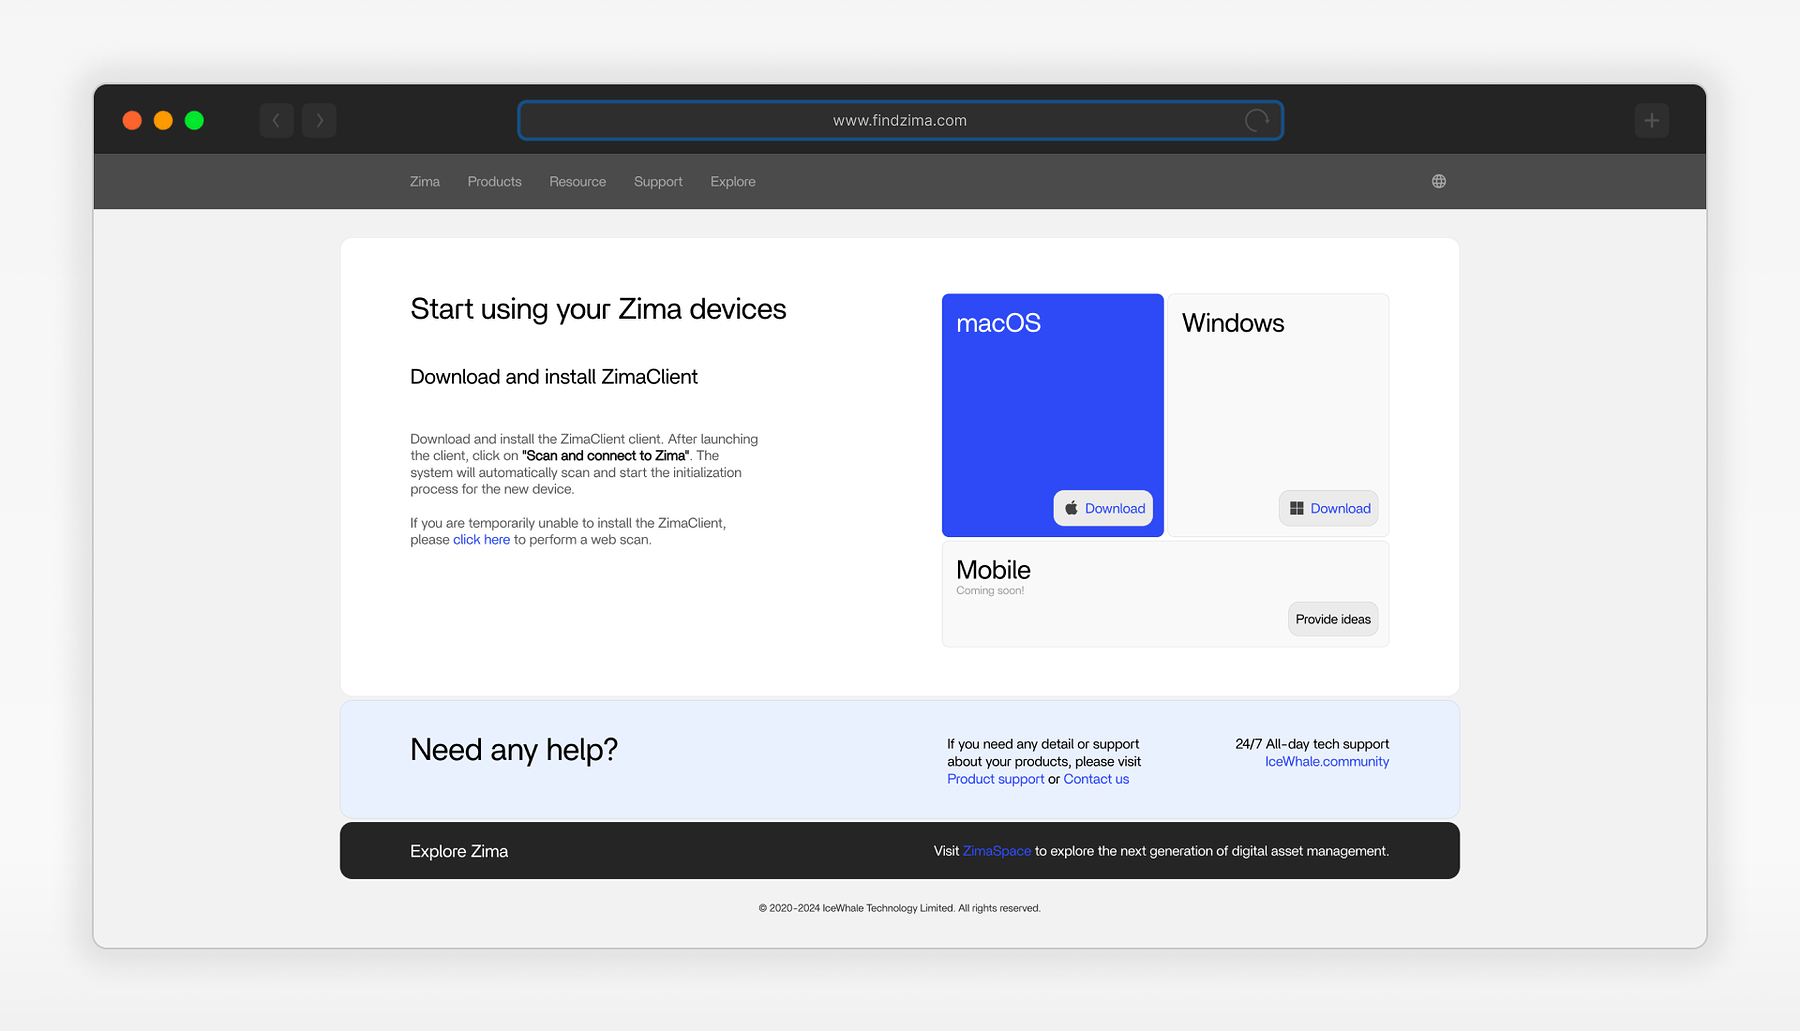
Mount your SMB shared folder on Windows
Download Zima-latest setup.exe from findzima and open it. It will boot the installation process and Zima client will be launched automatically after installation. You will find the Zima icon to the right of your taskbar, which is shown as a question mark due to the state of being unconnected.
Right click the icon and select Scan and Connect to Zima.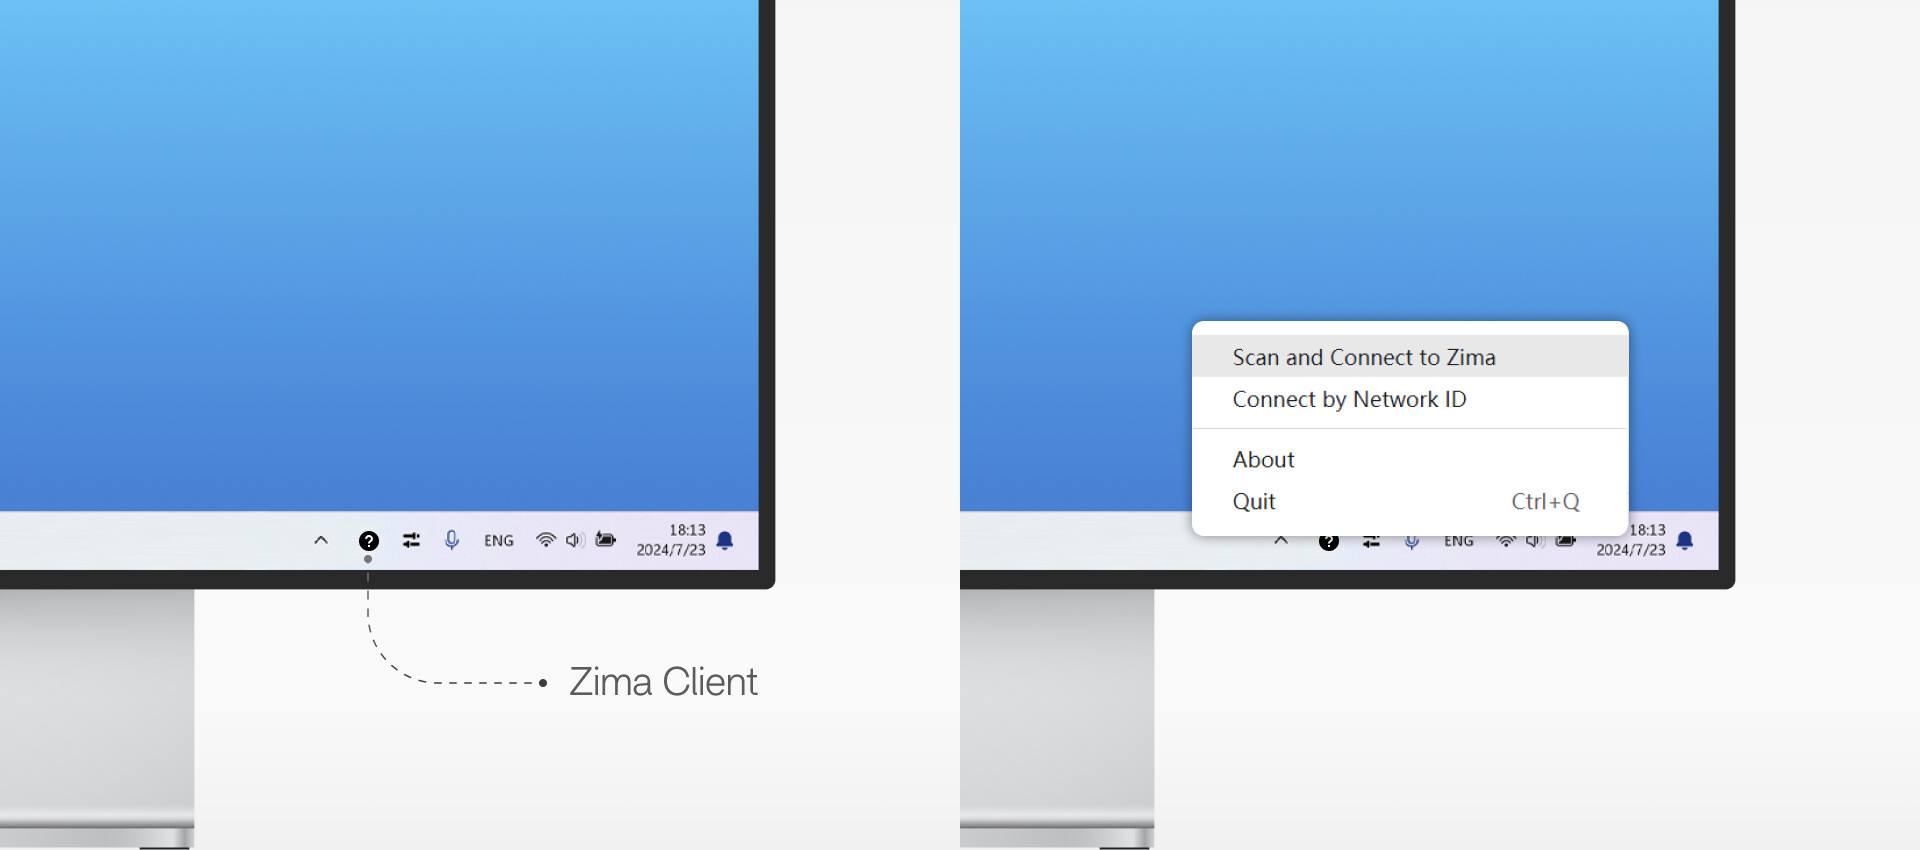
Locate your Zima device and click Connect.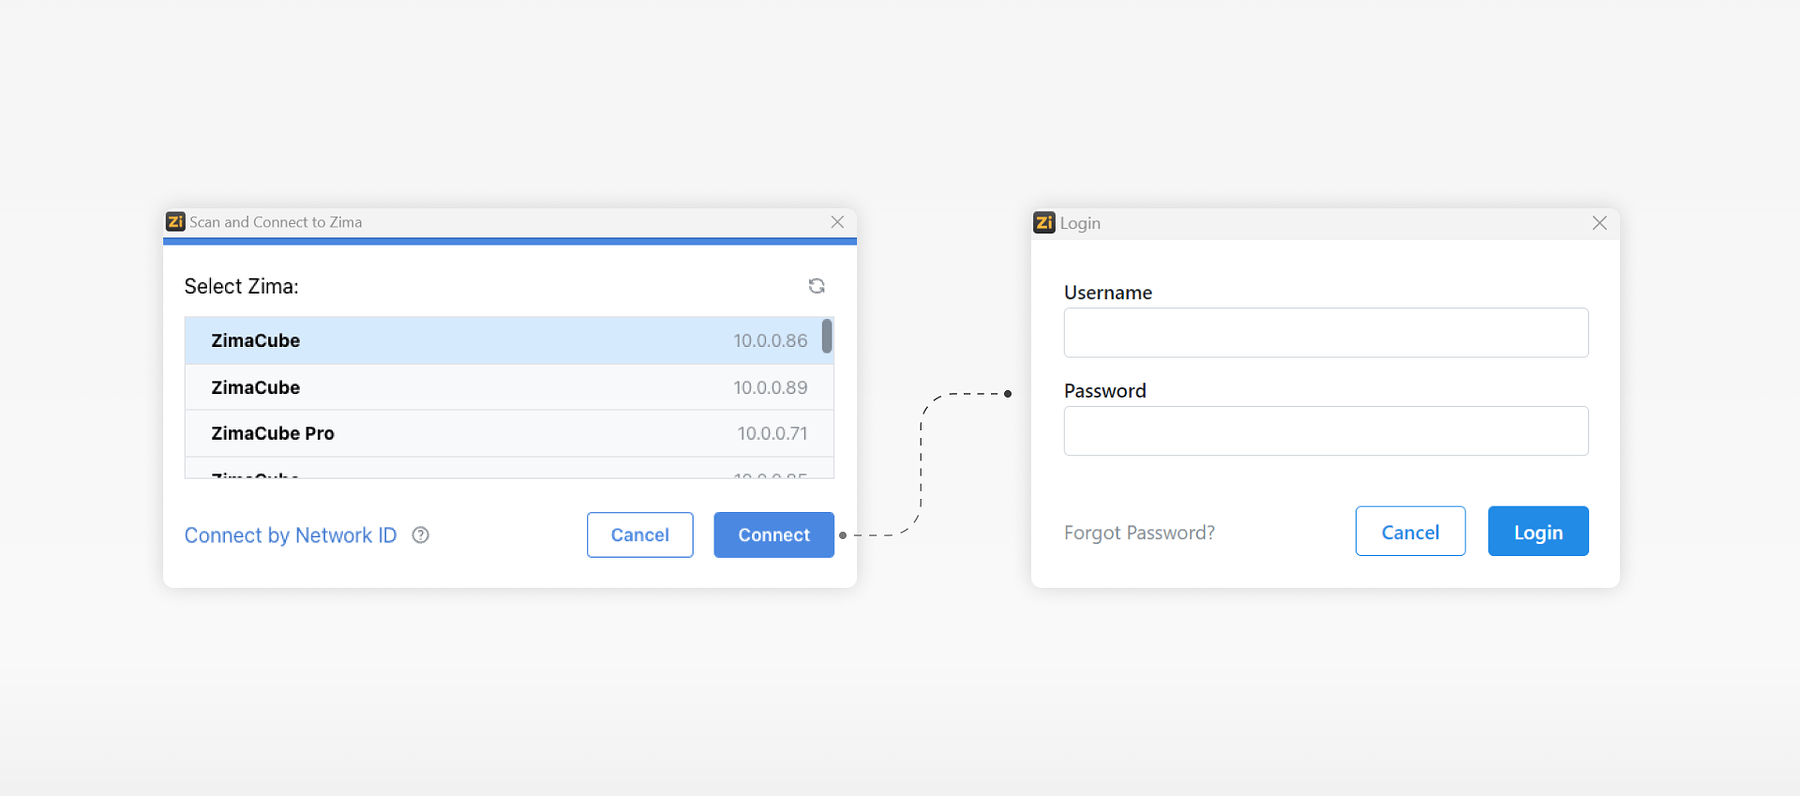
Zima.exe will prompt you to enter your WebUI’s username and password to log in. After that, your zima.exe icon will turn from a question mark into a ZIMA mark, which means your zima.exe has entered a logged in status.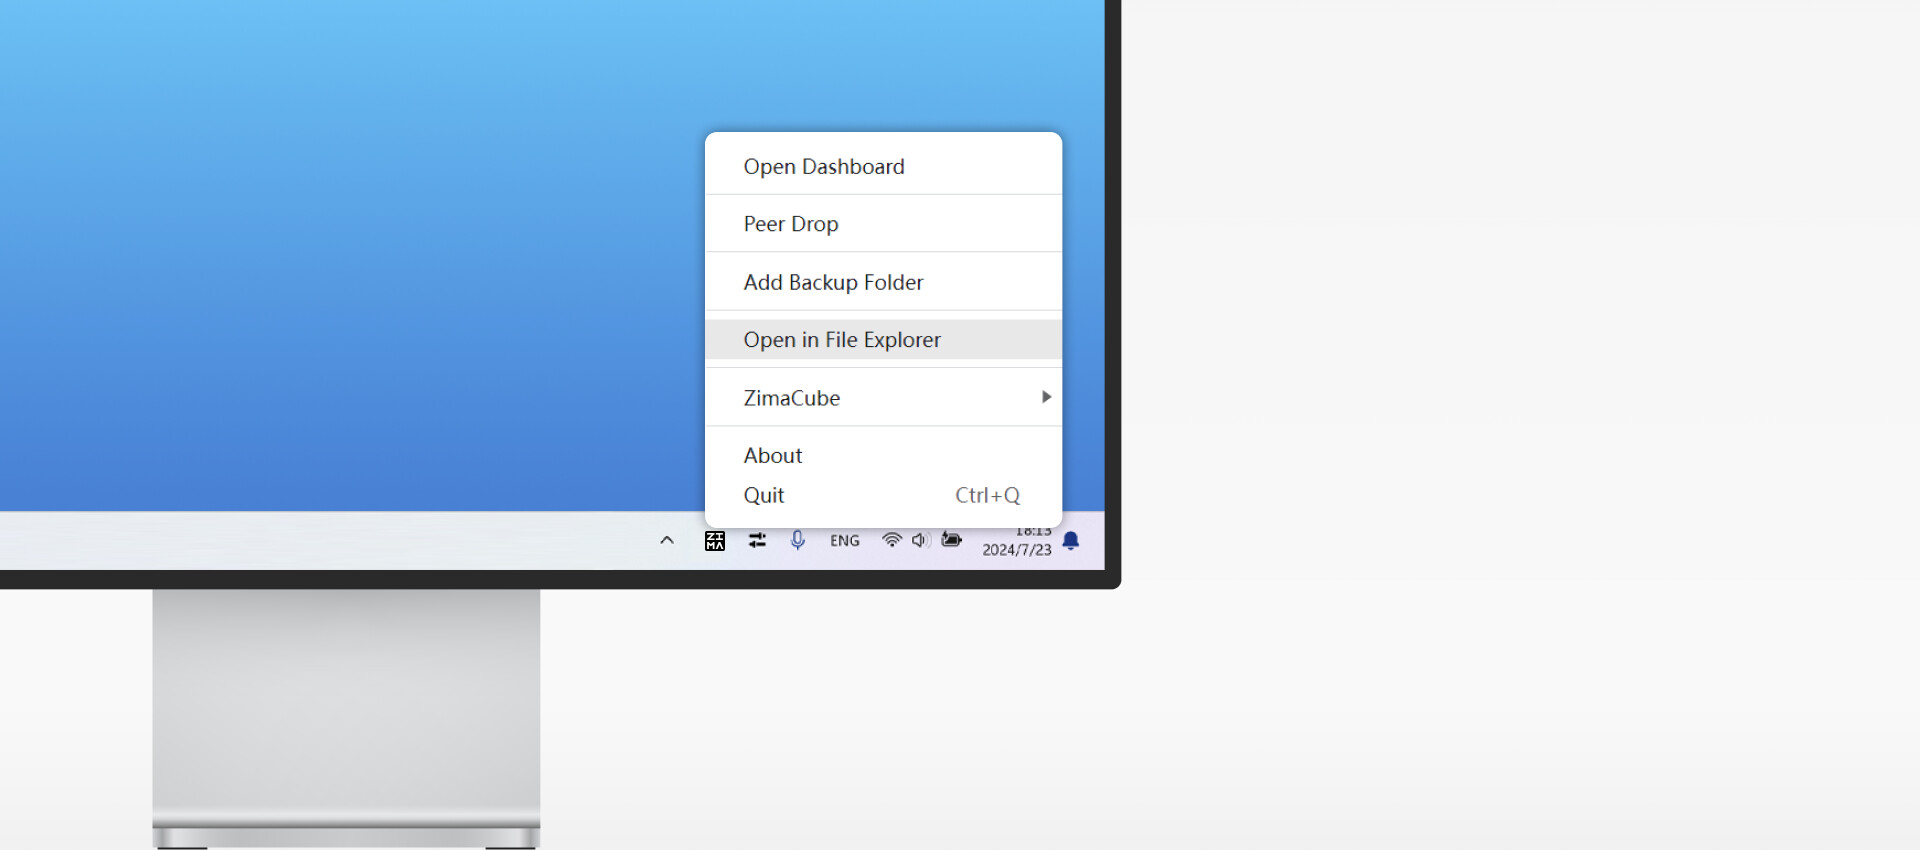
Right click on the zima icon and select Open in File Explorer, which will mount your shared folder to your Windows system and open it up automatically!
Note: to work properly, your Windows and ZimaOS need be in the same local area network(LAN).
Mount your SMB shared folder on macOS
Like above, we have also prepared a zima app for Mac users on findzima . The usage of the Mac zima app is pretty the same as the Windows one. Just refer to the content above.
Do you recall what Files app prompts you when you finish creating a shared folder? On macOS, we will use the URLs you just get for manually mounting!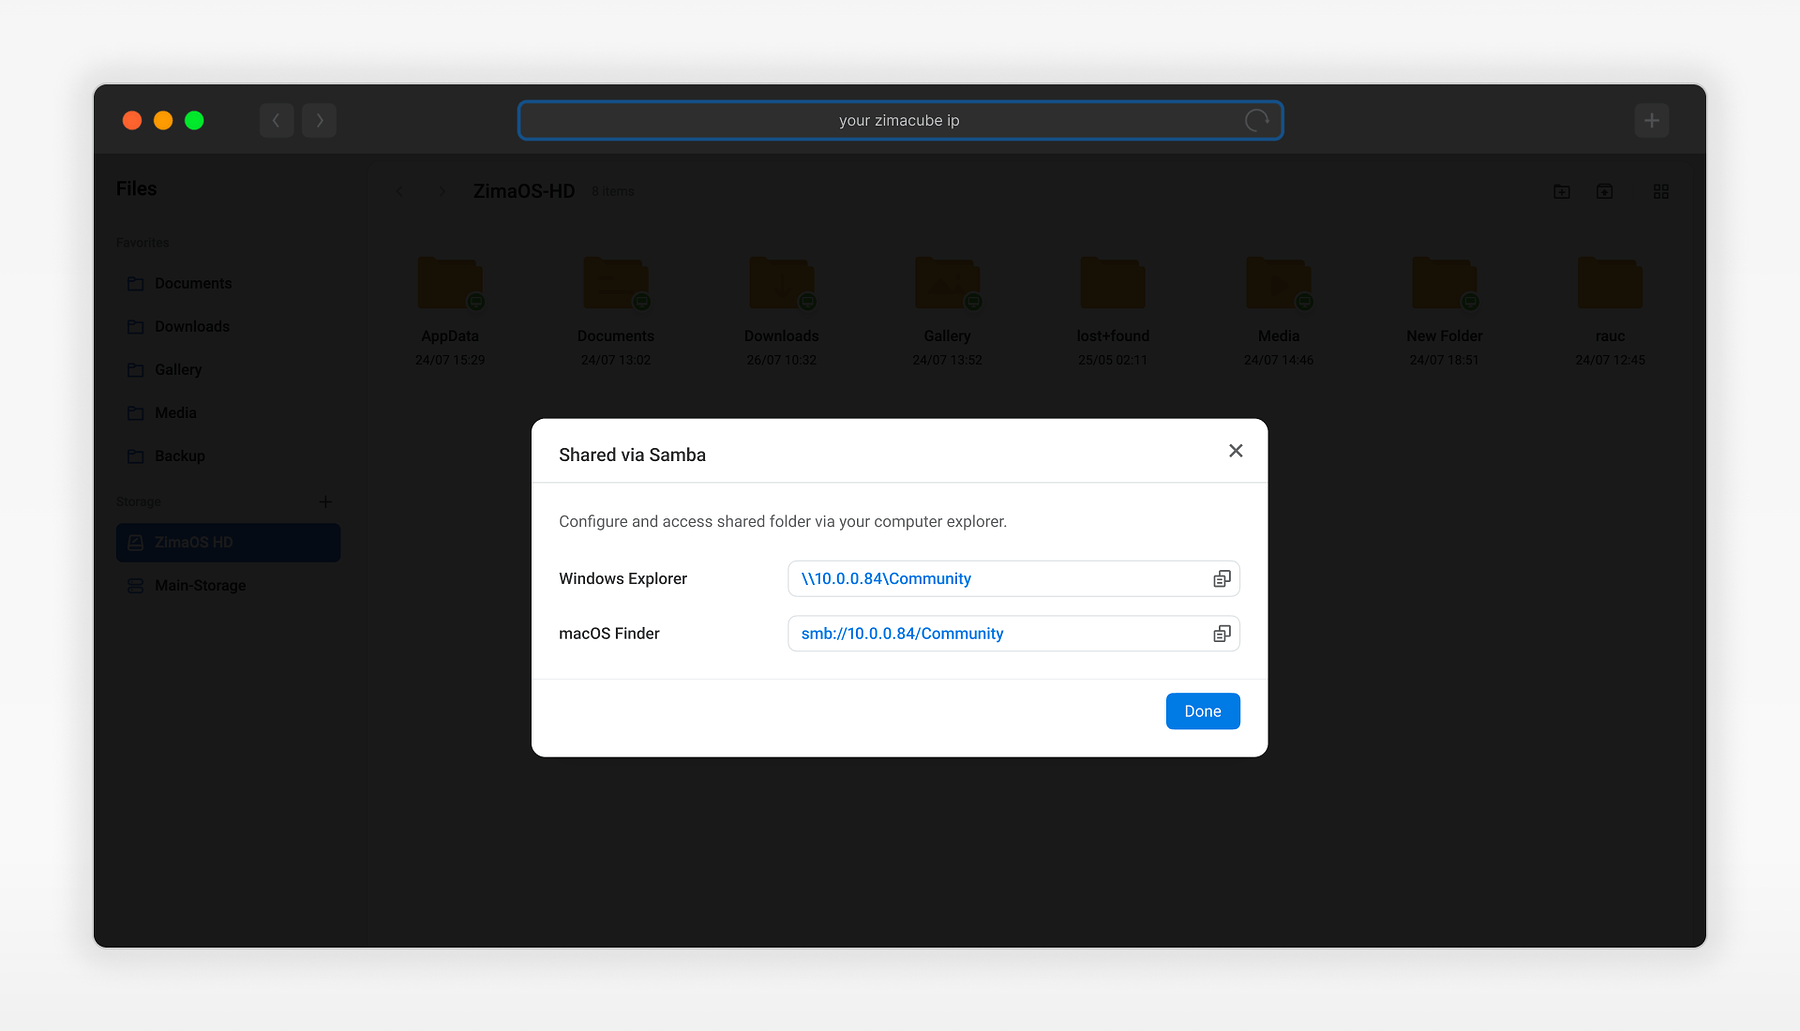
Open Finder on your mac and press CMD+K, then copy paste the corresponding URL to the input box.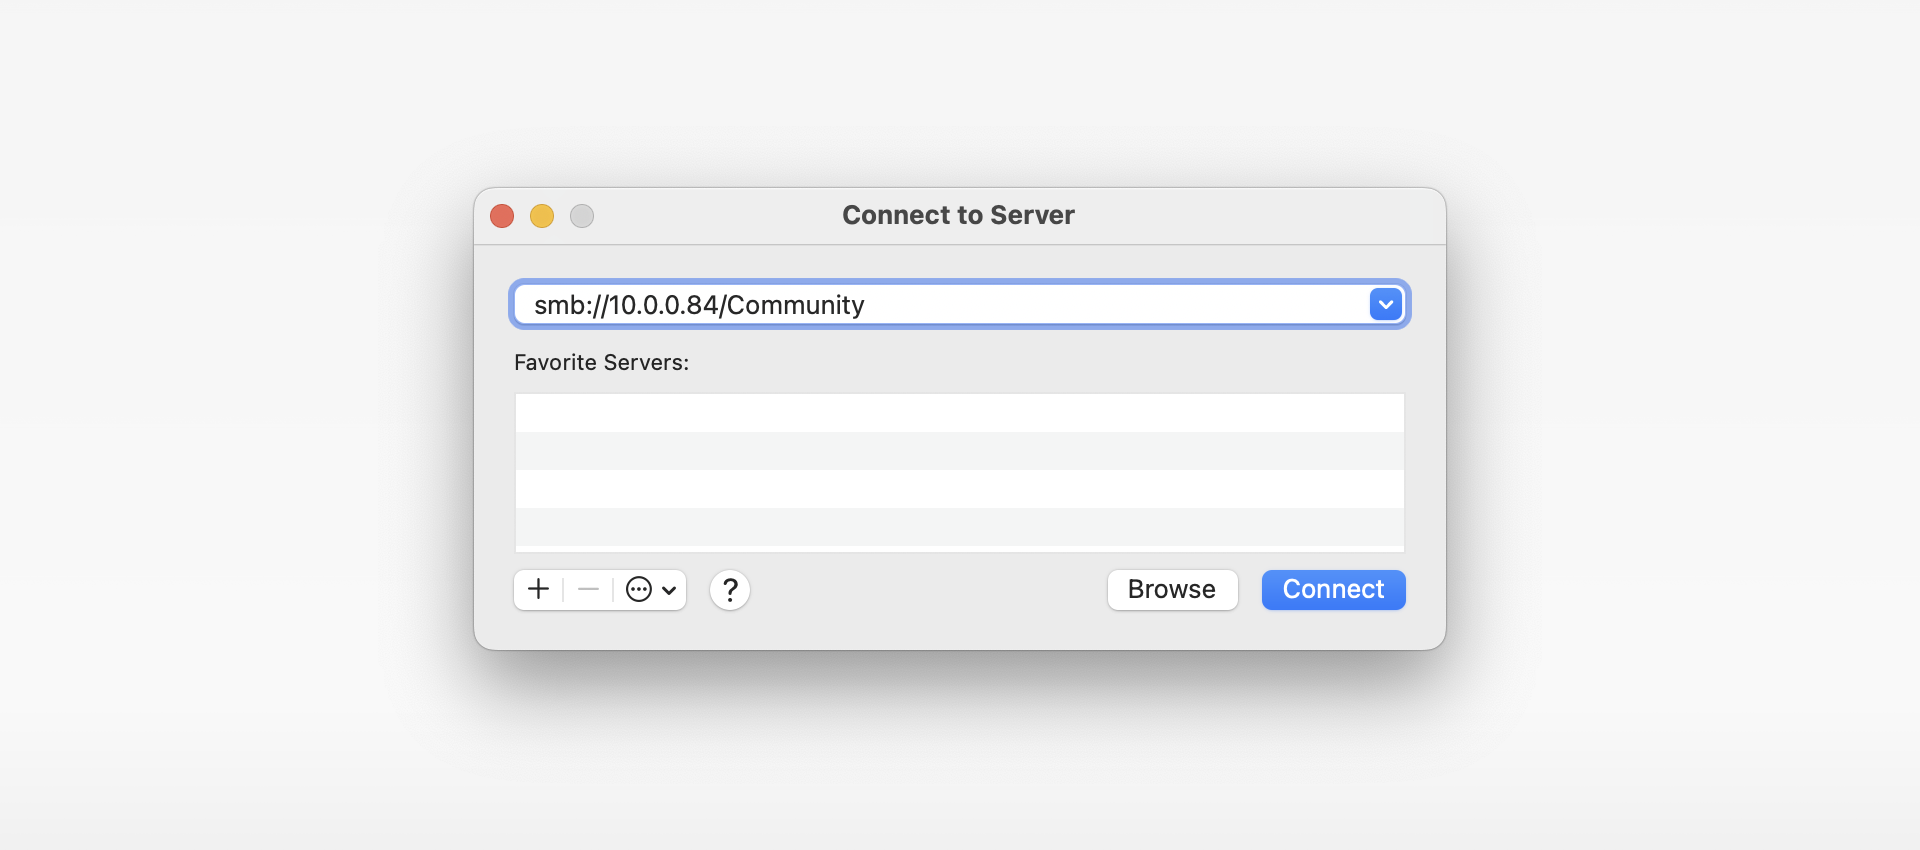
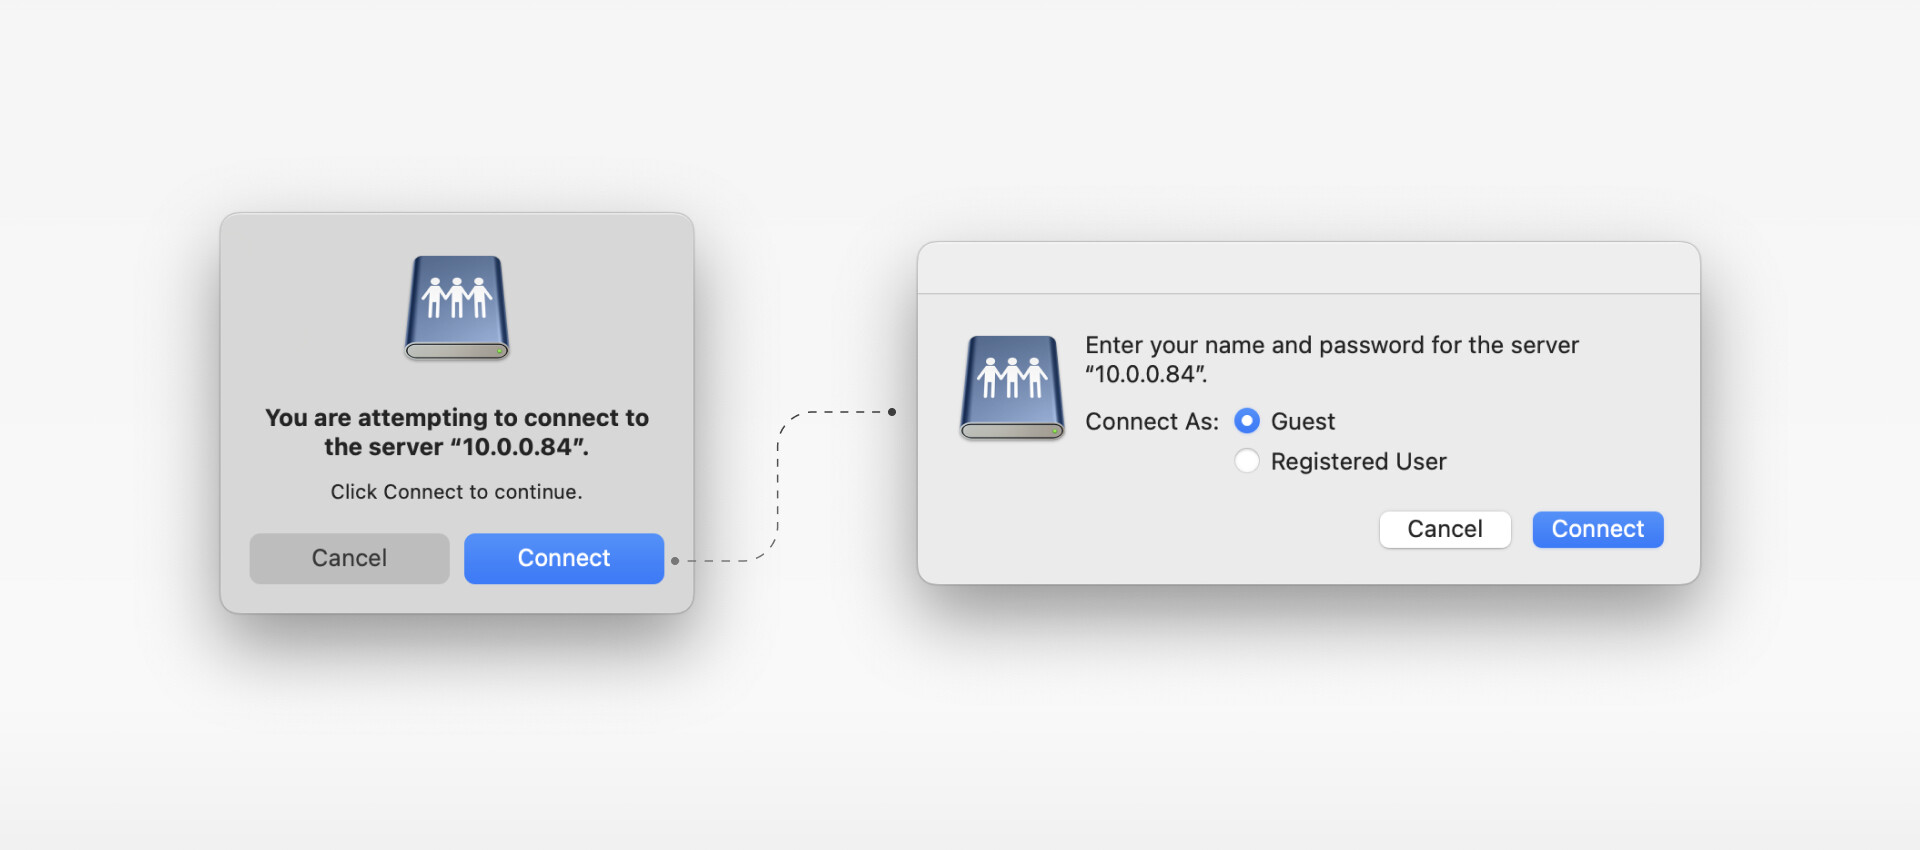
Click Connect. For now, on the prompt dialogue, choose Guest and click Connect.
For ZimaOS v1.2.3 users, choose Registered User and input the correct username and password.
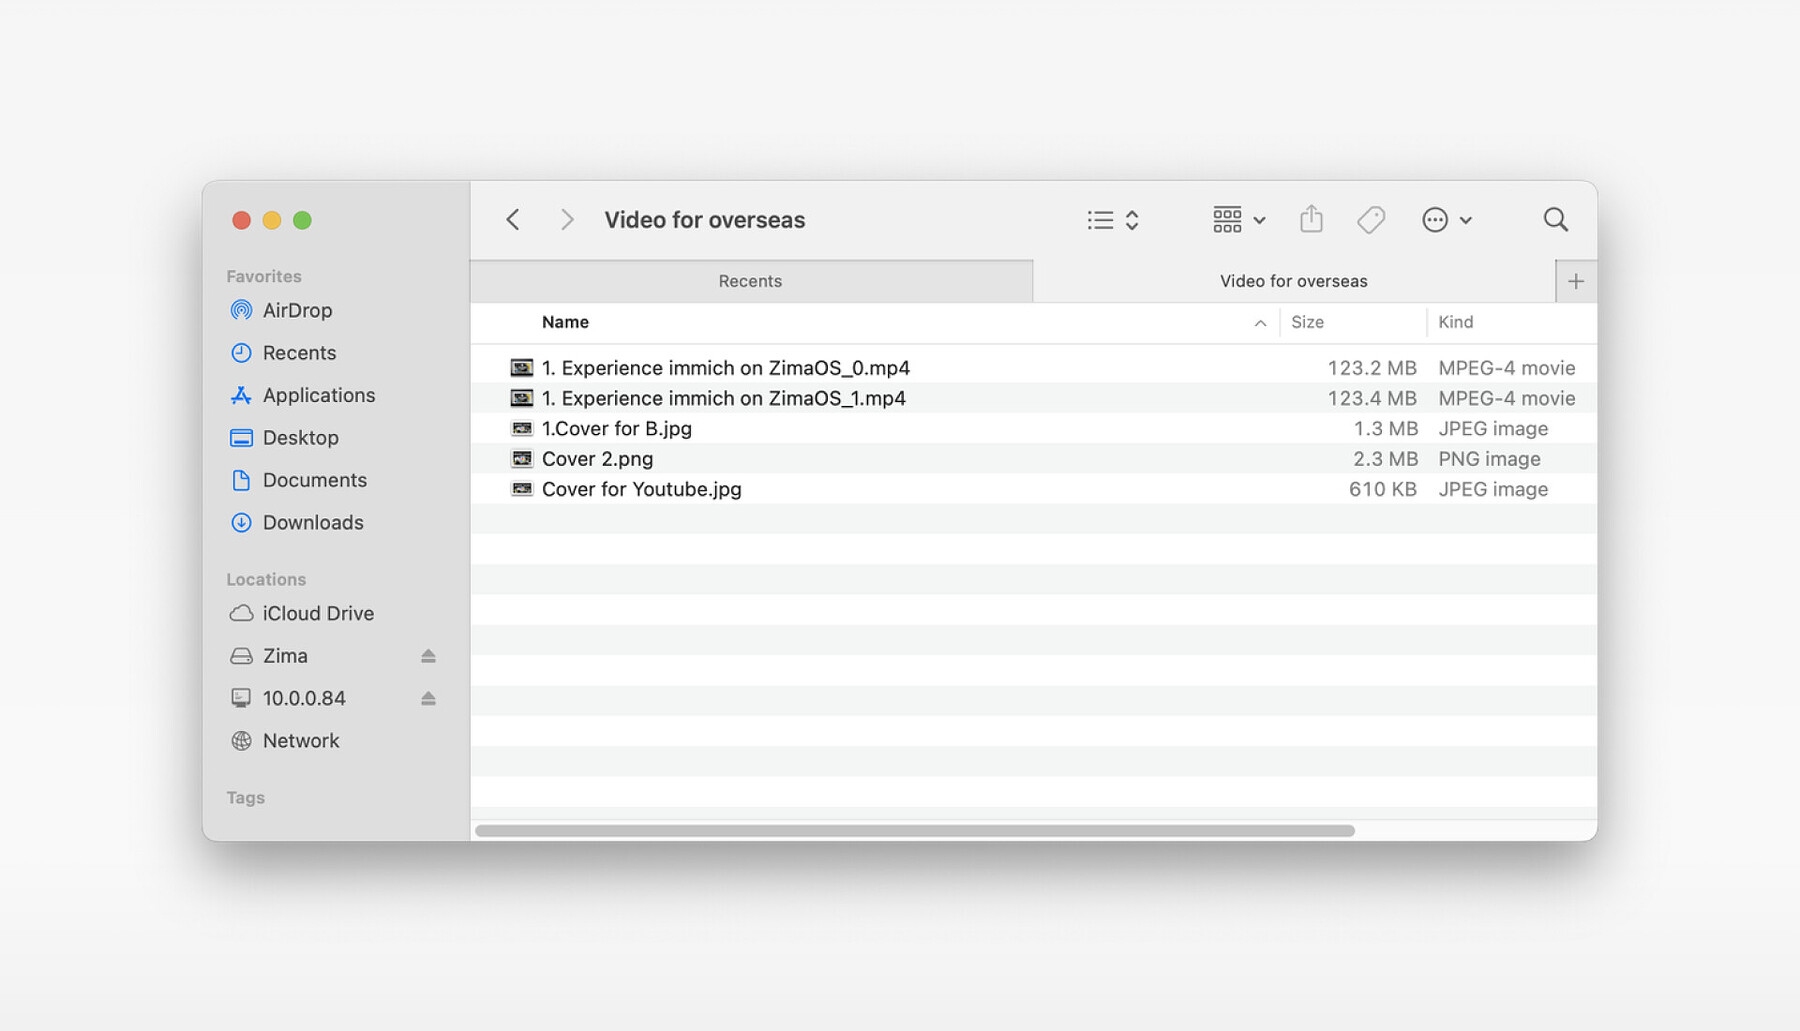
Now, you will get your shared folder opened up and it will be listed on the left column of the Finder app.
How about the URL for Windows Explorer? What is the differences between zima automating mounting and mannually mounting the drive via URL?
Currently our SMB sharing uses the Guest account. In future versions, we will introduce multiple users to the sharing function and strengthen permission management. We hope these can meet more diverse needs of everyone.
Not just LAN
In fact, not only on LAN, but also on direct network and WAN, you can easily connect your Zima device and map the shared directory as a network drive. We will release relevant tutorials. Thank you for your continued attention.
If you encounter any issues during use, feel free to let us know at any time. You can also join our community and Discord to discuss more about NAS and ZimaOS. We look forward to your feedback!