Introduce
This tutorial will guide you through how to create a home video surveillance system on CasaOS using Kerberos.io and ZimaBoard. We will use CasaOS’s Docker custom installation feature to simplify the installation and configuration process, and will also explain in detail how to configure an RTSP camera.
1. Preparation
- ZimaBoard X 1
- Make sure the ZimaBoard is connected to power and the Internet, and CasaOS is installed
- RTSP-compatible IP camera
2. Get the RTSP link of the camera
Since different manufacturers’ cameras have different ways of getting the RTSP link, please refer to your camera’s user manual or the manufacturer’s official website for relevant instructions, or log in to the camera’s management interface to find the RTSP link. In this tutorial, we successfully tested TP-Link and Tuya brand cameras and verified their compatibility with Kerberos.io. In addition, we expect the system to be compatible with cameras from brands such as Hikvision, Ezviz, Dahua, eufy, and Yousee.
3. Configure Kerberos.io
Step 1: Log in to CasaOS
- Make sure ZimaBoard is connected to power and the internet, and CasaOS is installed.
- Access the CasaOS web interface (usually http://
).
Step 2: Install Docker using CasaOS
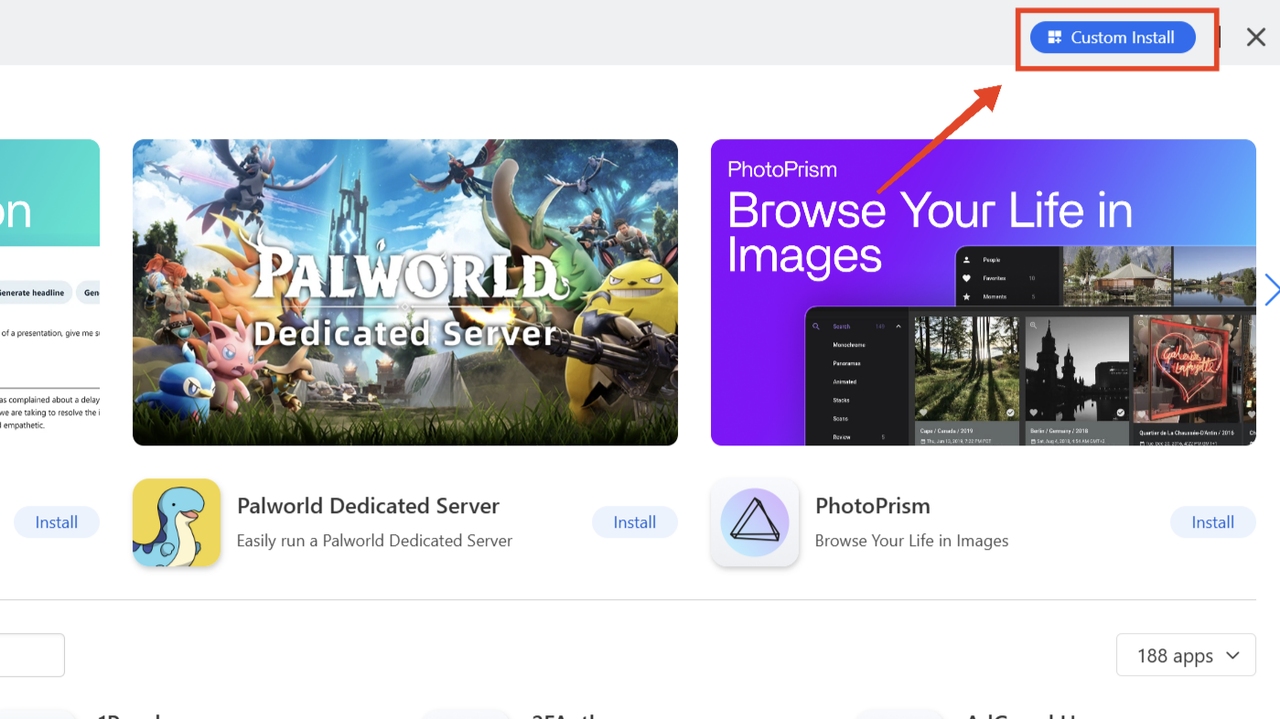
- Open the App Store

- Click Custom Installation
- Click Import

- Paste the following code to configure Docker into the input field
version: ‘3’ # Docker Compose file version
services:
kerberos:
image: kerberos/kerberos # Use the kerberos/kerberos image
container_name: kerberos # Container name
ports:
- “8080:80” # Map host port 8080 to container port 80
volumes:
- ./config:/config # Mount the host’s config directory to /config in the container
- ./recordings:/etc/opt/kerberosio/capture # Mount the host’s recordings directory to /etc/opt/kerberosio/capture in the container
restart: unless-stopped # Container restart policy: restart automatically unless stopped manually
environment:
- TZ=Europe/London # Set the container’s timezone to Europe/London
- KERBEROSIO_SETTINGS_PORT=80 # Set the Kerberos service listening port to 80
- KERBEROSIO_SETTINGS_RECORDSTREAM=”/config/recordings” # Set the recording stream location to /config/recordings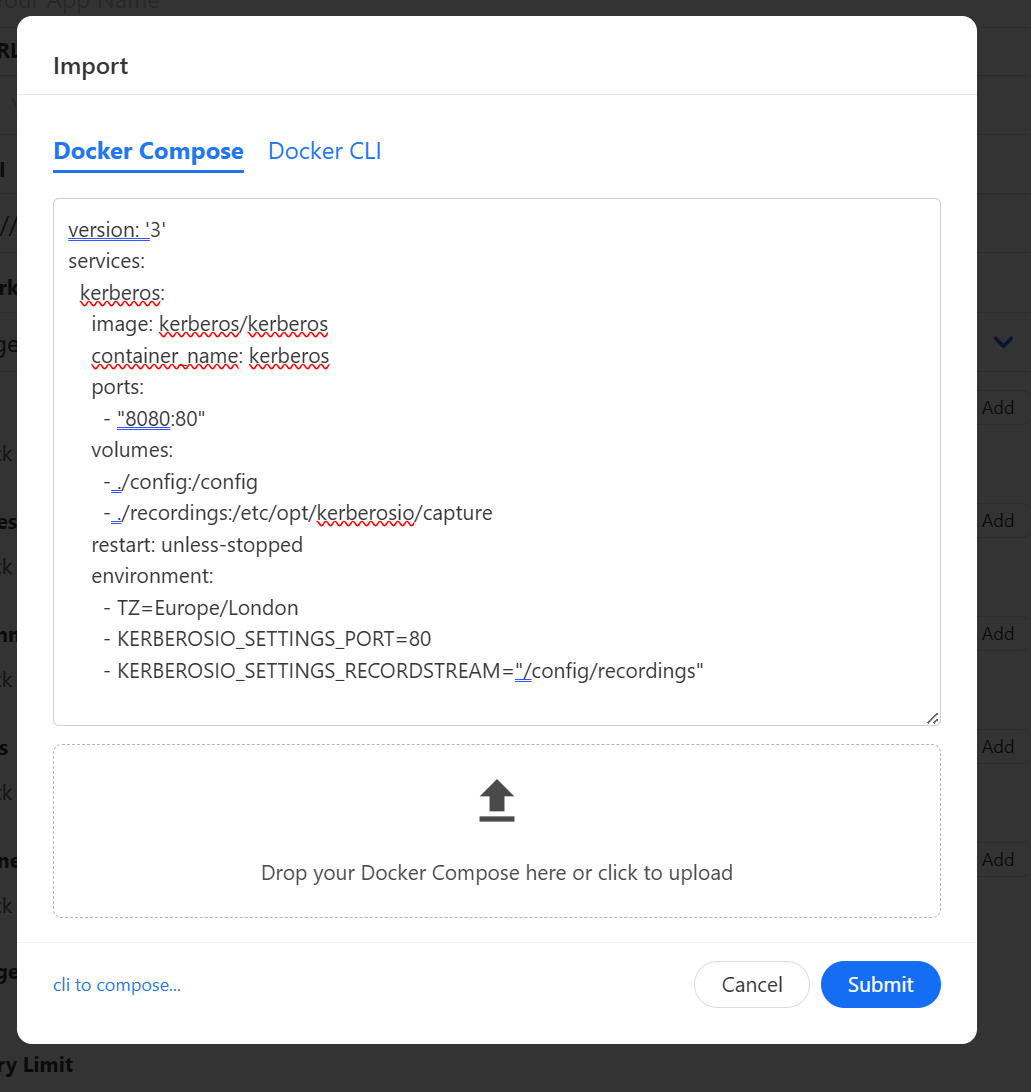
5. Click Submit
6. Fill in ‘tag’: latset and ‘title’: kerberos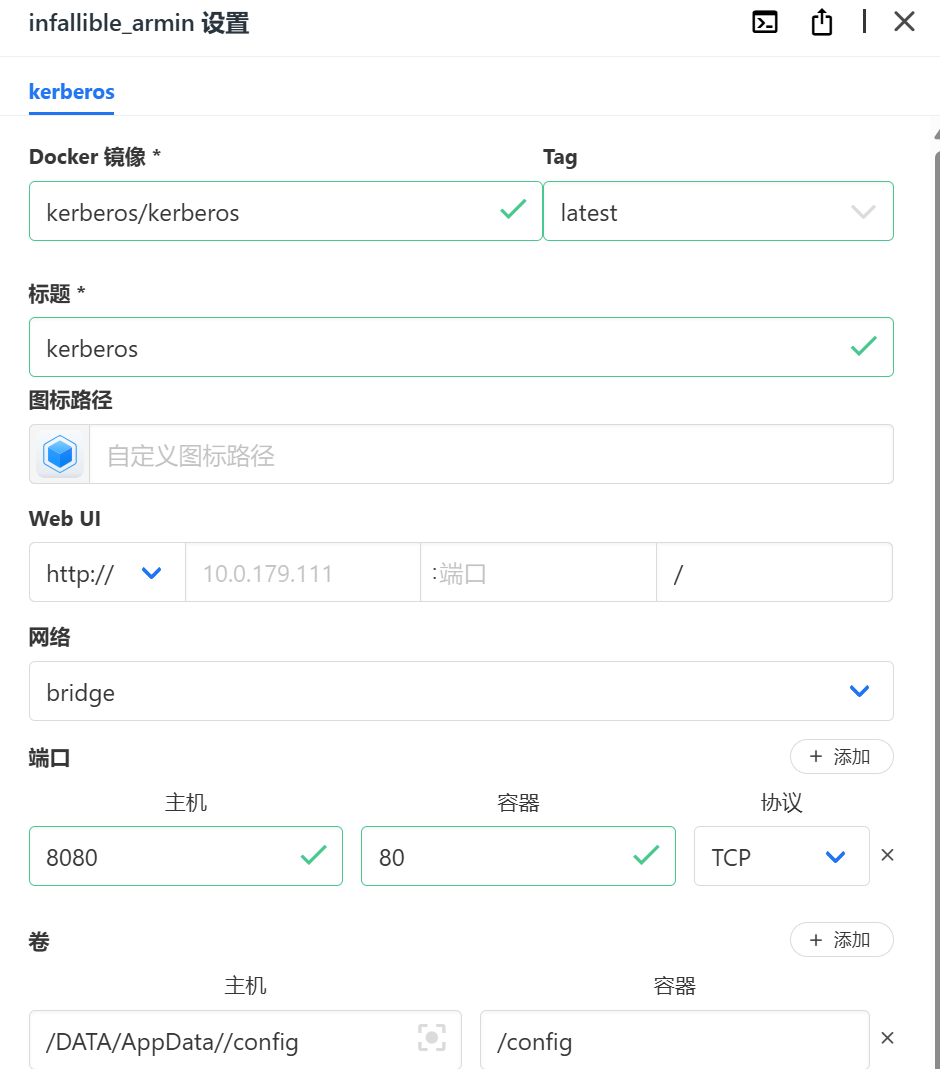
7. Submit and wait for the installation to complete
Step 3: Configure Kerberos.io
- Open http://
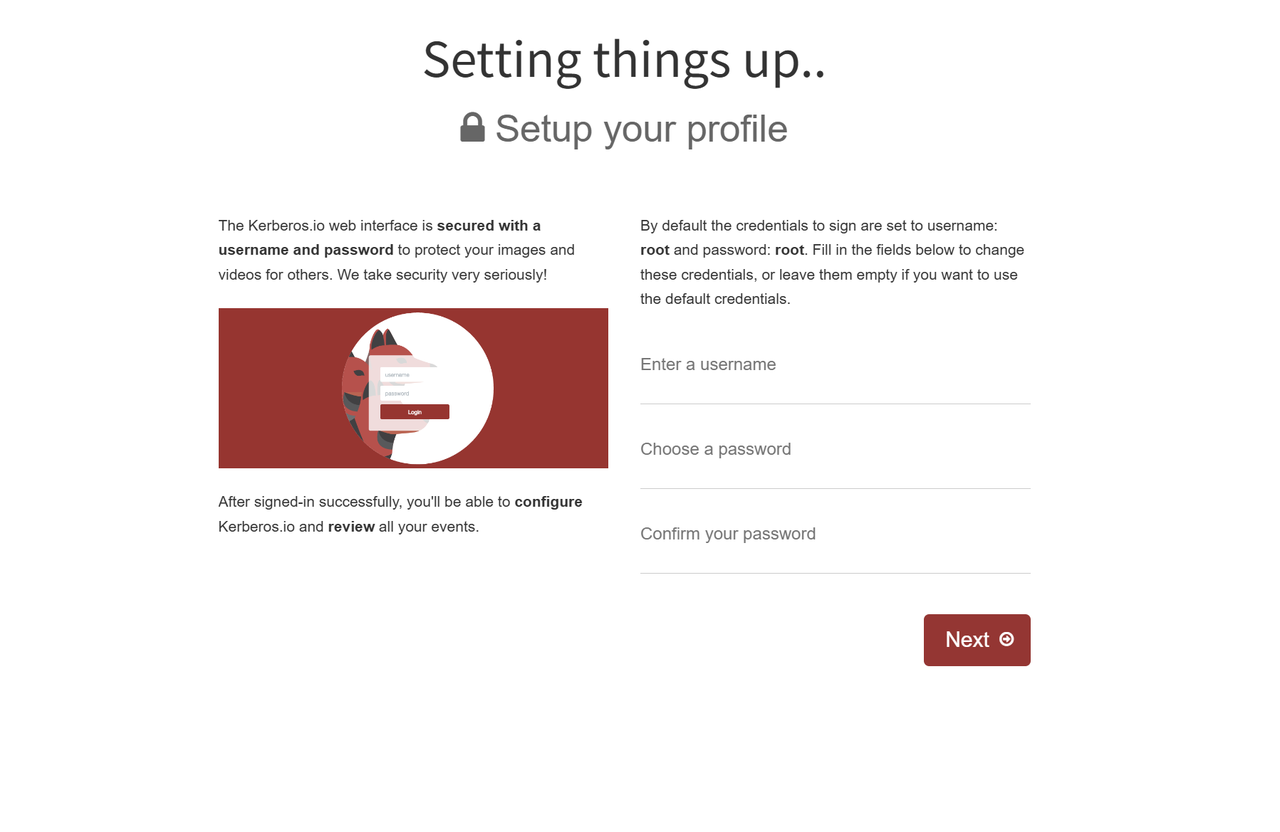
:8080 in your browser to enter the Kerberos.io settings interface. 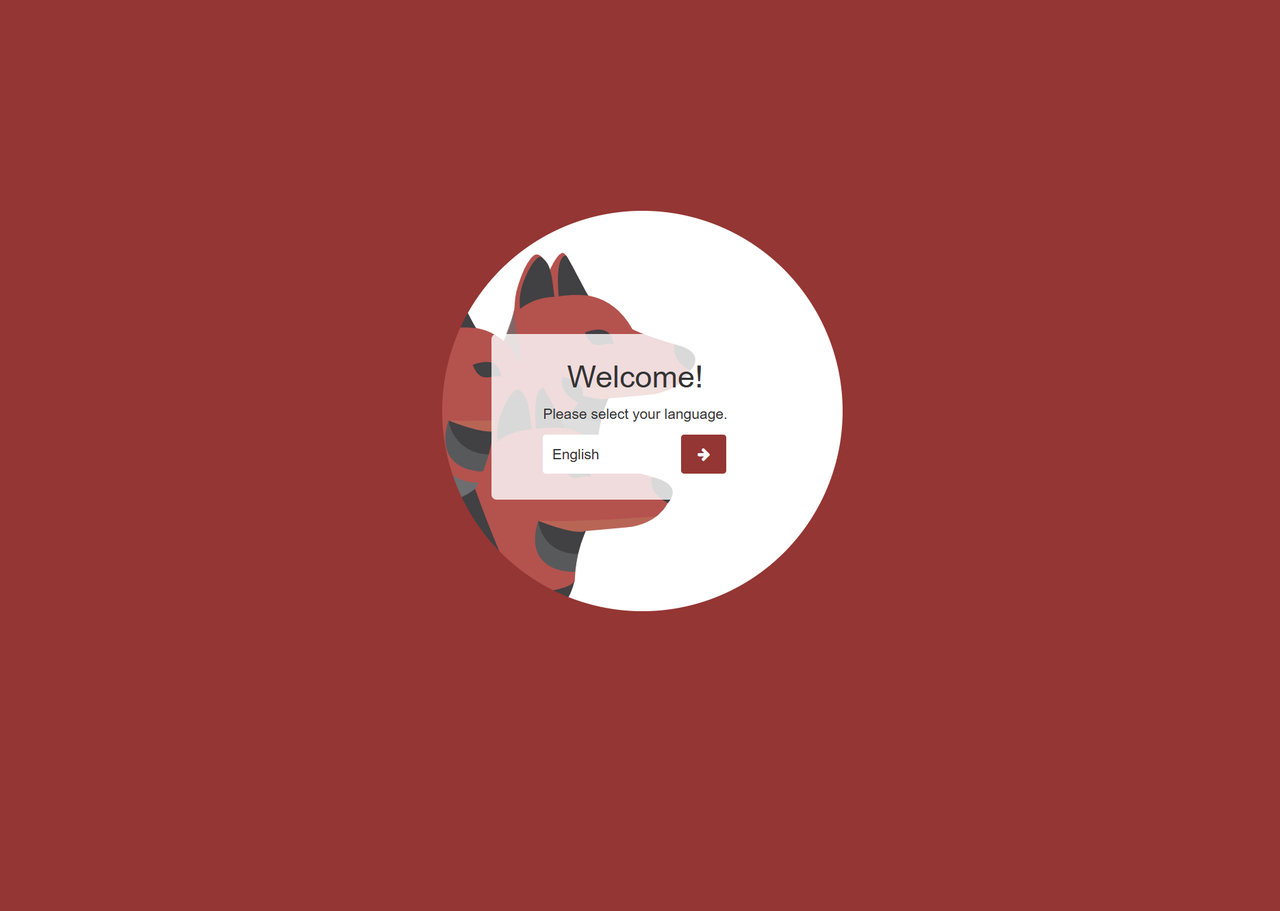
- Create an account and password and log in to Kerberos.io.
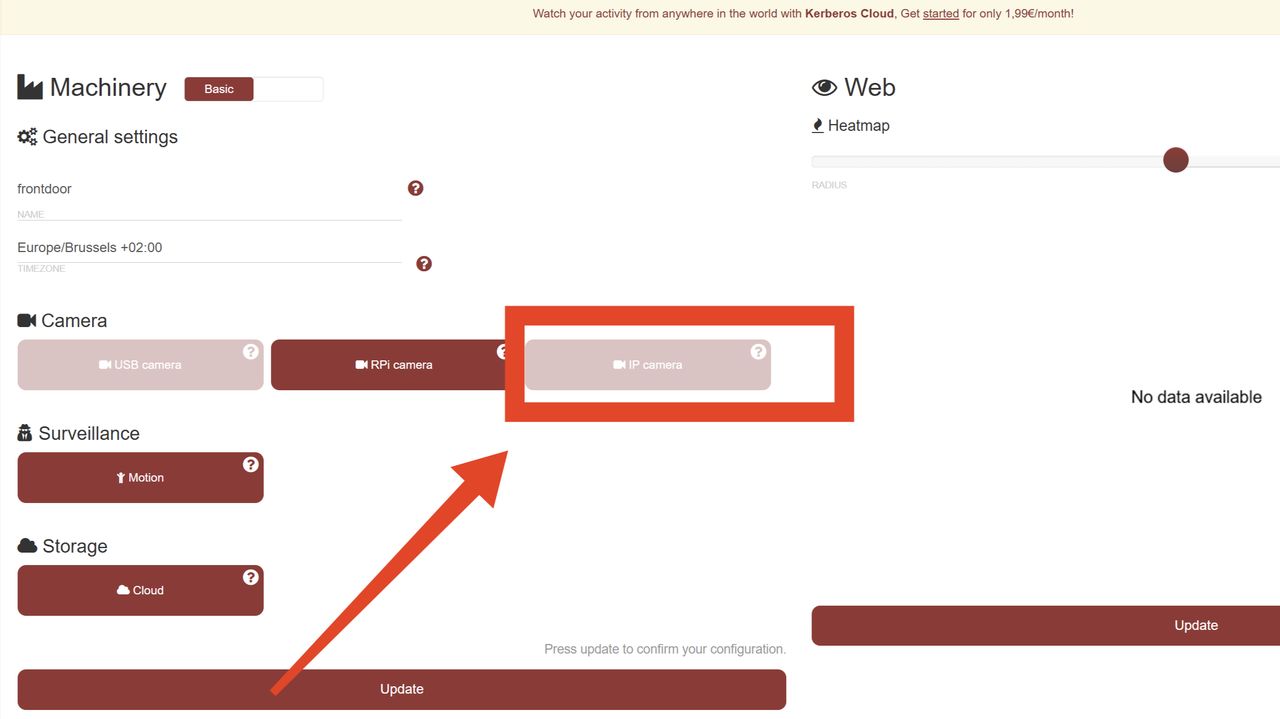
- Click ‘Configuration’

- Select ‘IP camera’
- Enter the obtained RTSP URL, for example: rtsp://admin:Hjj12345@10.0.171.52/stream1.
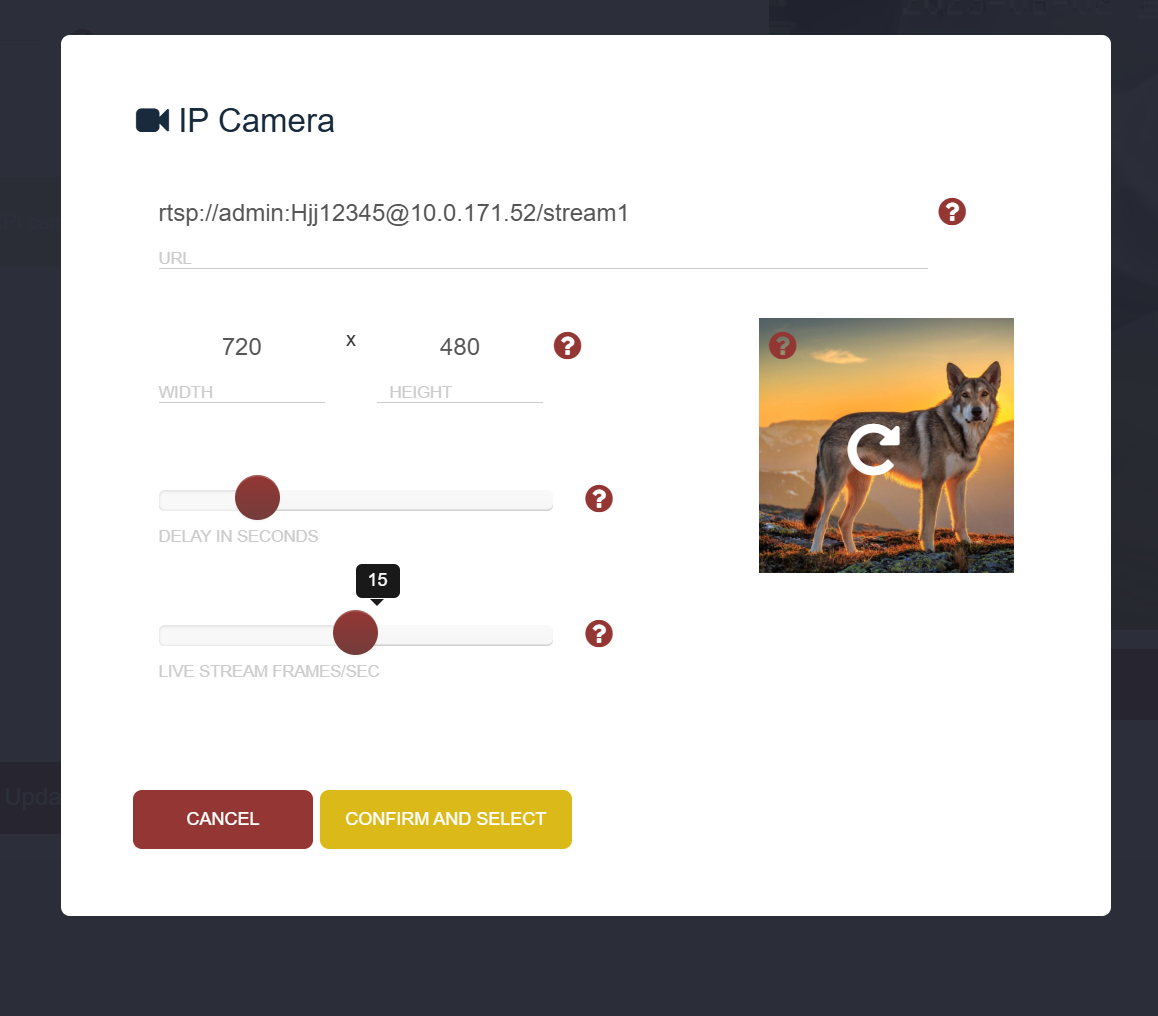
- Configure the resolution and frame rate, for example: 720x480.
- After the configuration is completed, you can view the captured images and videos in the Kerberos interface
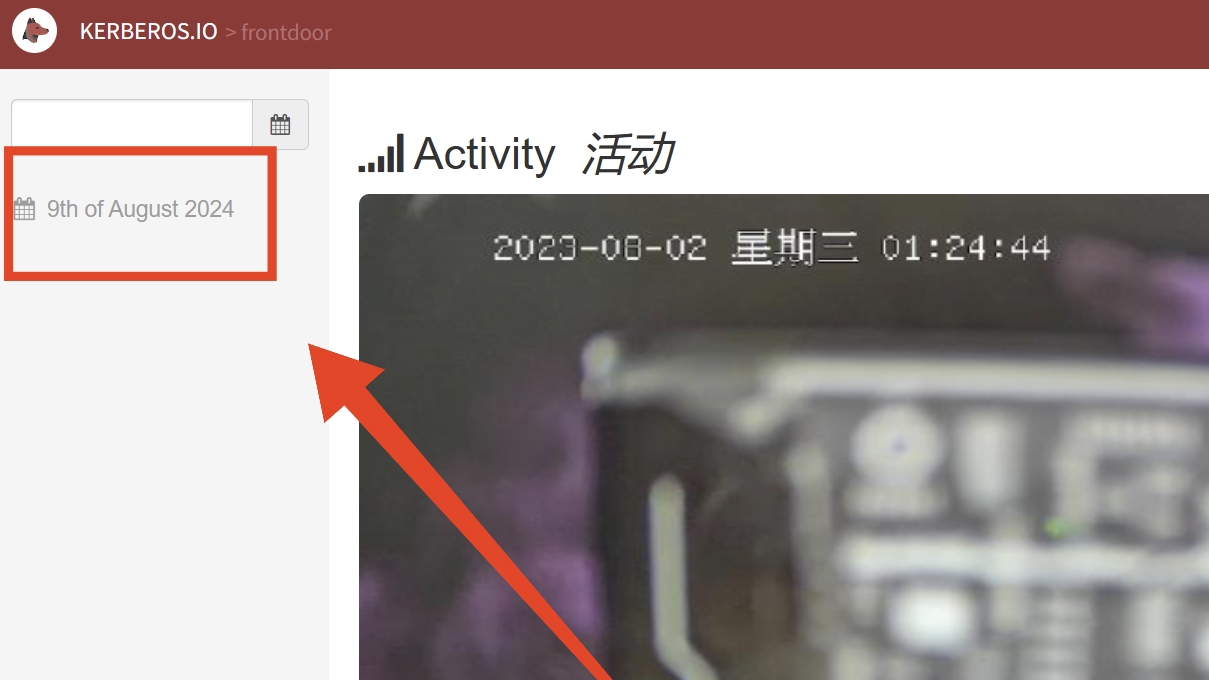

- You can also view the monitoring status in real time on the main interface

- This system is suitable for users who need to monitor a specific area in real time, especially in home and small office scenarios. Although the system currently only supports the configuration of a single camera, its easy installation, efficient performance and good brand compatibility make it a reliable monitoring solution.