Introduction
Project Overview
he ZimaCube 7th Bay is designed not only to provide essential SSD expansion capabilities for flagship devices but also to bring a greater sense of vitality to home computing through customizable lighting. The integration of customizable lighting opens up a world of possibilities: use the 7th Bay light strip to indicate system status, show data transfer speeds, indicate download progress, signal local AI activity, or even sync with your desktop music.
To realize these ideas, the ZimaCube 7th Bay is built on Espressif Systems’ ESP32 microcontroller. The onboard Bluetooth and WiFi capabilities allow independent control of the lighting through ZimaOS or other IoT devices. The ESP32 is solely dedicated to controlling the lights and is isolated from all network and storage functions of the ZimaCube. Additionally, the ESP32 serves as a small web server, offering OTA (Over The Air) firmware updates for customizing light effects.
Customizing ZimaCube 7th Bay Lighting
There are two ways to customize the ZimaCube 7th Bay lighting effects:
- Using the official firmware protocol to DIY light control by writing scripts on ZimaOS.
- Developing your own ESP32 firmware and protocol for full control of the 7th Bay light strip.
Advantages and Disadvantages of Each Method:
Method 1:
- Advantages: Simple, quick implementation, utilizes existing features, low risk.
- Disadvantages: Limited functionality and performance.
Method 2:
- Advantages: Full control, high flexibility, independent operation, optimized performance.
- Disadvantages: High development difficulty, long development cycle.
How to Write a Script for Light Control
7th Bay Firmware Protocol Introduction
WiFi Connection: The ESP32 creates a WiFi network that ZimaOS connects to for remote control and OTA updates.
JSON Control: Control the lighting effects using JSON commands, providing flexibility and easy customization.
OTA Updates: Supports OTA updates, allowing firmware updates without physical access to the device.
Various Lighting Effects: Supports multiple predefined lighting effects, such as breathing effect, constant light mode, custom mode, etc.
Light Control Methods
Connecting to ZimaCube’s Wi-Fi
- Connect to the Wi-Fi network:
- Wi-Fi Name: “ZimaCube”
- Wi-Fi Password: “homecloud”
Using the Color Picker
To facilitate color selection, use the following online color picker tool: Online Color Picker.
Steps:
- Open the Online Color Picker.
- Use the mouse to select the desired color.
- The corresponding HSV (Hue, Saturation, Value) values will be displayed in the color picker interface.
- Record these HSV values and convert them to a range suitable for JSON data:
- Hue (H): h = (Hue value / 360) * 255
- Saturation (S): s = (Saturation value / 100) * 255
- Value (V): v = (Value / 100) * 255
Example:
Selecting orange in the color picker provides the following HSV values:
- Hue (H): 30
- Saturation (S): 100
- Value (V): 100
Converted values:
- Hue (H): h = (30 / 360) * 255 ≈ 21
- Saturation (S): s = 255
- Value (V): v = 255
Apply these values to JSON data for light control.
Control Modes
Mode 1: Breathing Mode
In breathing mode, the light strip displays a single color gradient effect. Adjust the speed and color parameters to control the effect.
- Speed: Range 0 ~ 10
- Color Parameters:
- Hue (H): Range 0 ~ 255
- Saturation (S): Range 0 ~ 255
- Value (V): Range 0 ~ 255
Example JSON Data:
{ |
*** Sending Data to ESP32:***
- The ESP32 creates a default WiFi network that ZimaOS connects to. Verify connection with:
ping 172.16.1.1
- Send an HTTP POST request to
172.16.1.1with the JSON data:curl -X POST -H "Content-Type: application/json" -d @yourfile.json http://172.16.1.1/post
- Check the lighting effect.
Mode 2: Constant Light Mode
In constant light mode, the light strip remains a single color.
Color Parameters:
- Hue (H): Range 0 ~ 255
- Saturation (S): Range 0 ~ 255
-** Value (V)**: Range 0 ~ 255
Example JSON Data:
{ |
*** Sending Data to ESP32:***
- The ESP32 creates a default WiFi network that ZimaOS connects to. Verify connection with:
ping 172.16.1.1 |
- Send an HTTP POST request to
172.16.1.1with the JSON data:
curl -X POST -H "Content-Type: application/json" -d @yourfile.json http://172.16.1.1/post |
- Check the lighting effect.
Modes 3 and 4
- Under development.
Mode 5: Custom Mode
In custom mode, you can control the color and brightness of each light individually.
- Color Parameters:
- Hue (H): Range 0 ~ 255
- Saturation (S): Range 0 ~ 255
- Value (V): Range 0 ~ 255
Example JSON Data:
{ |
*** Sending Data to ESP32:***
- The ESP32 creates a default WiFi network that ZimaOS connects to. Verify connection with:
ping 172.16.1.1 |
- Send an HTTP POST request to
172.16.1.1with the JSON data:
curl -X POST -H "Content-Type: application/json" -d @yourfile.json http://172.16.1.1/post |
- Check the lighting effect.
How to Develop Your Own 7th Bay Firmware
Introduction
Using a Windows computer, we demonstrate how to develop your own ESP32 firmware and light effects, as well as how to upload your new firmware.
Hardware Requirements
- ZimaCube’s 7th Bay
- Type-C data cable
- Windows computer
Hardware Information
- Number of LEDs: 13
- GPIO 2: Connects to the data line of the WS2812B LED strip
- 5V and GND: Connects to the power and ground of the ESP32 development board
ESP32 Details:
Usage Guide
System Requirements
- Operating System: Windows 10
- Necessary Tools: Arduino IDE
Installation Steps
Install Arduino IDE: Download
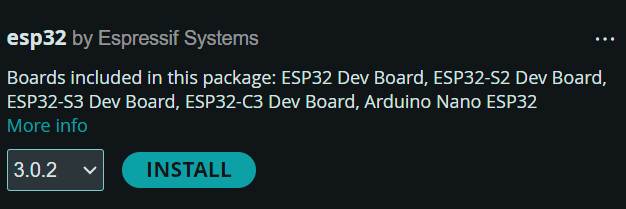
Install the ESP32 Board
Download and install the libraries:
- Adafruit_NeoPixel
- ArduinoJson
- Metro
- Place them in the libraries folder of your Arduino IDE installation.
Development Configuration
- Open Arduino IDE.
- Select the board: Tools -> Board -> ESP32 -> ESP32C3 Dev Module
- Select the correct port: Tools -> Port
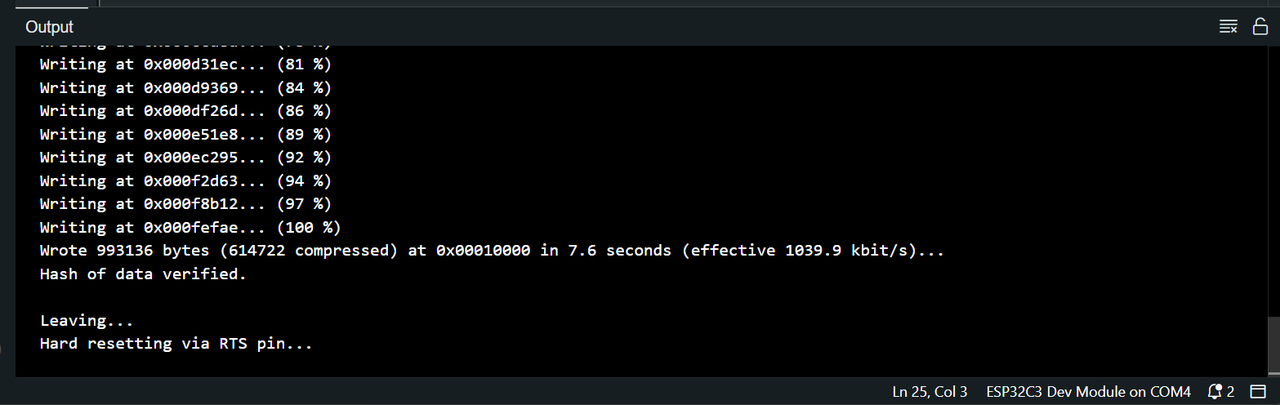
- Compile and upload code to the ESP32: Click the Upload button
- Successful upload result:
OTA Update Tutorial
- Connect to WiFi
- Connect your computer to the WiFi network:
- Name: “ZimaCube”
- Password: “homecloud”
- Enter the URL
- Open a browser and go to
172.16.1.1
- Open a browser and go to
- Upload Firmware
- Obtain the firmware from the following address: Firmware Download