RAID Array Setup
In a nutshell, RAID is a redundancy backup solution for disks after prolonged use. While today, many opt for cloud and multiple local storage backup solutions, RAID remains a mainstream storage configuration technology in the NAS industry, enhancing data storage reliability and performance. It improves fault tolerance and read/write speeds by combining multiple disk drives into one or more units.
ZimaOS embodies complex technology with a simple experience. When creating and maintaining RAID space, you don’t need to go through complex configurations. With just five simple clicks, you can complete the setup.
ZimaOS RAID Creation Process
Next, we’ll use a RAID 5 setup with three disks as a case study to understand how to create and use RAID on ZimaOS:
- Open the settings panel and see the button to create RAID. Click “Create”.
Tips: If you just need to directly mount and use your disk, then “Discover the new hard drive” will be your choice.
- Based on your needs, choose the appropriate RAID option. Here are simple explanations of the characteristics of the three types of RAID:
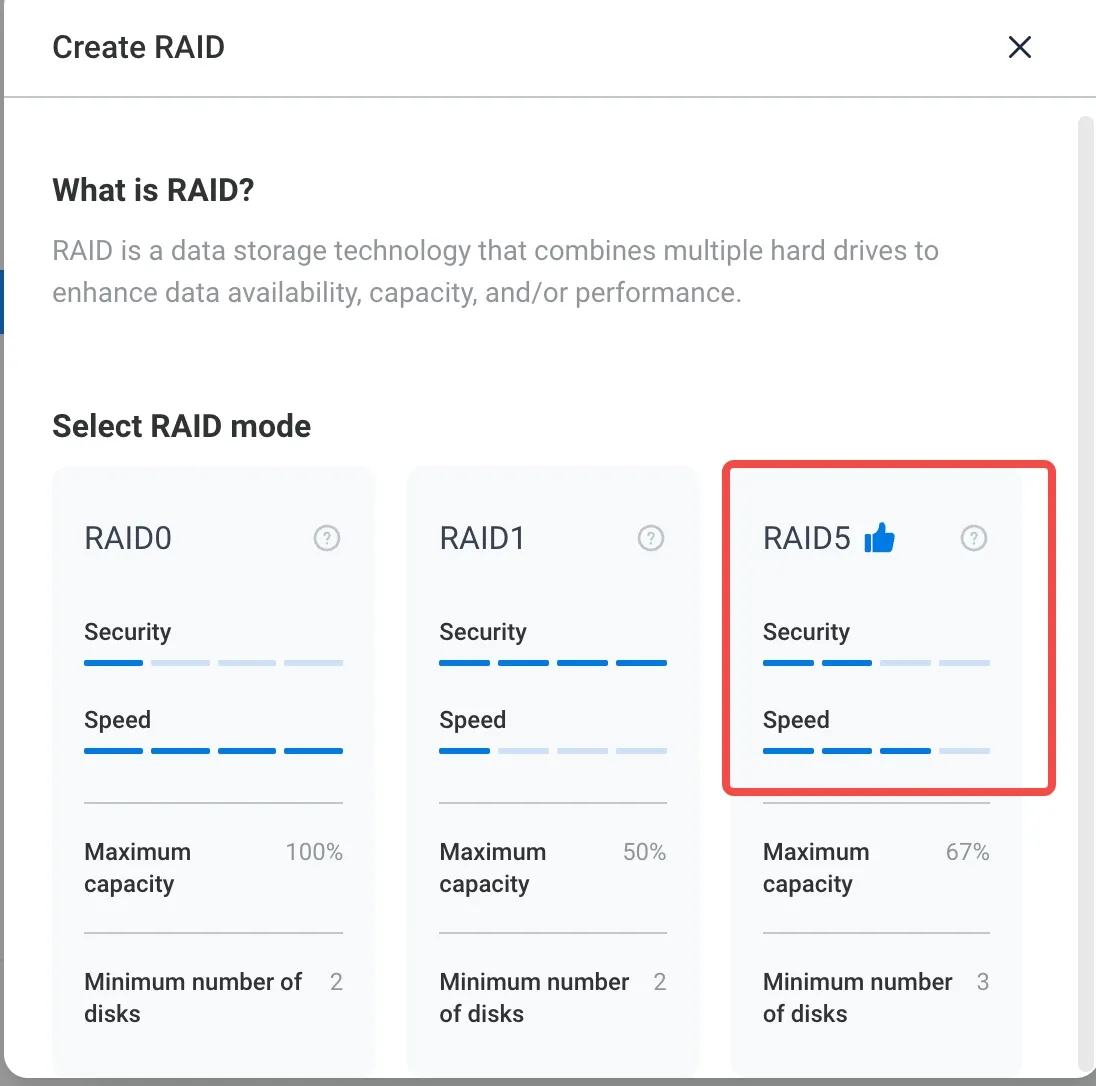
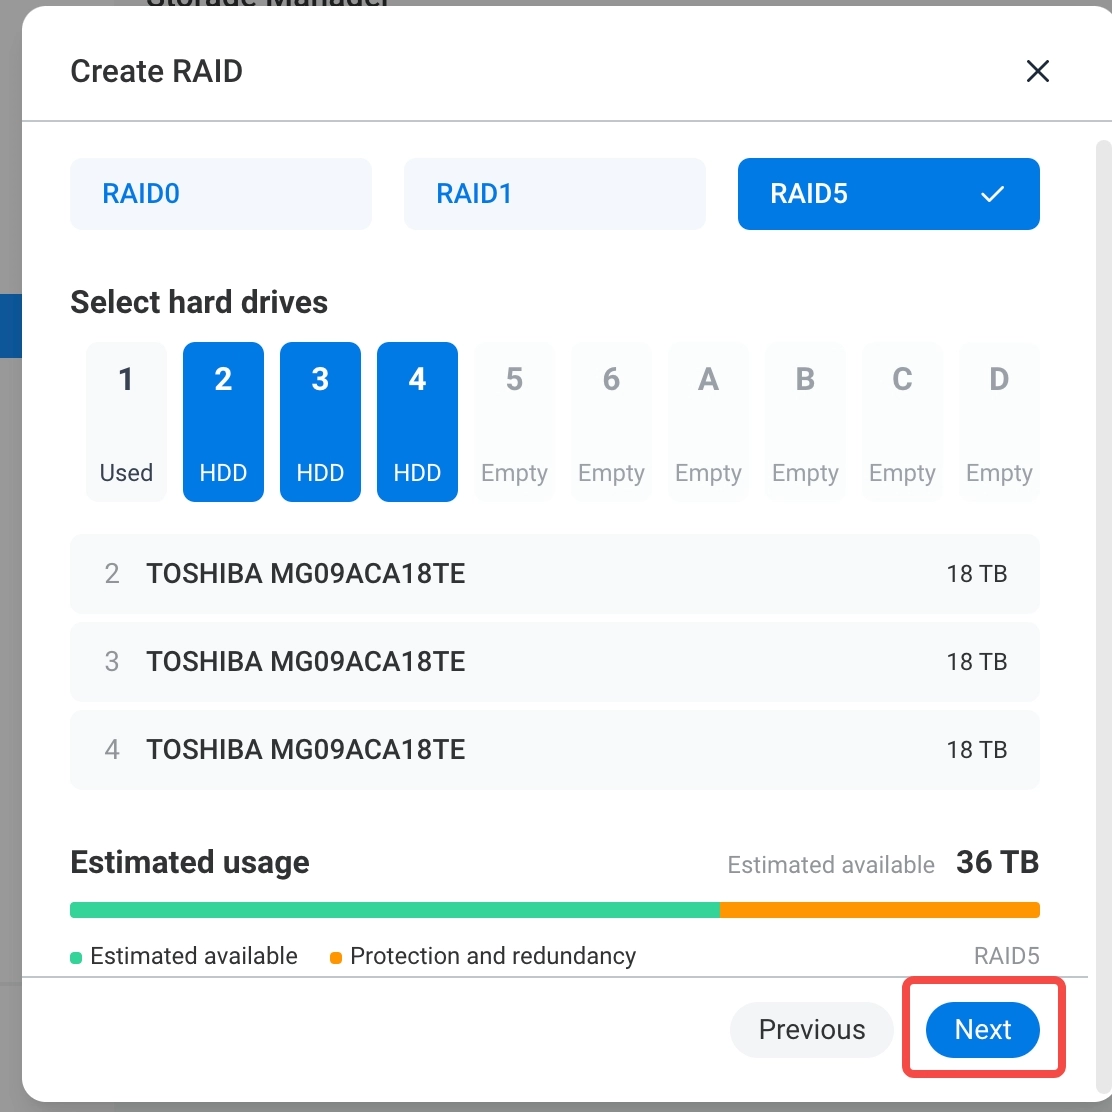
- Choose the RAID option that suits your needs.
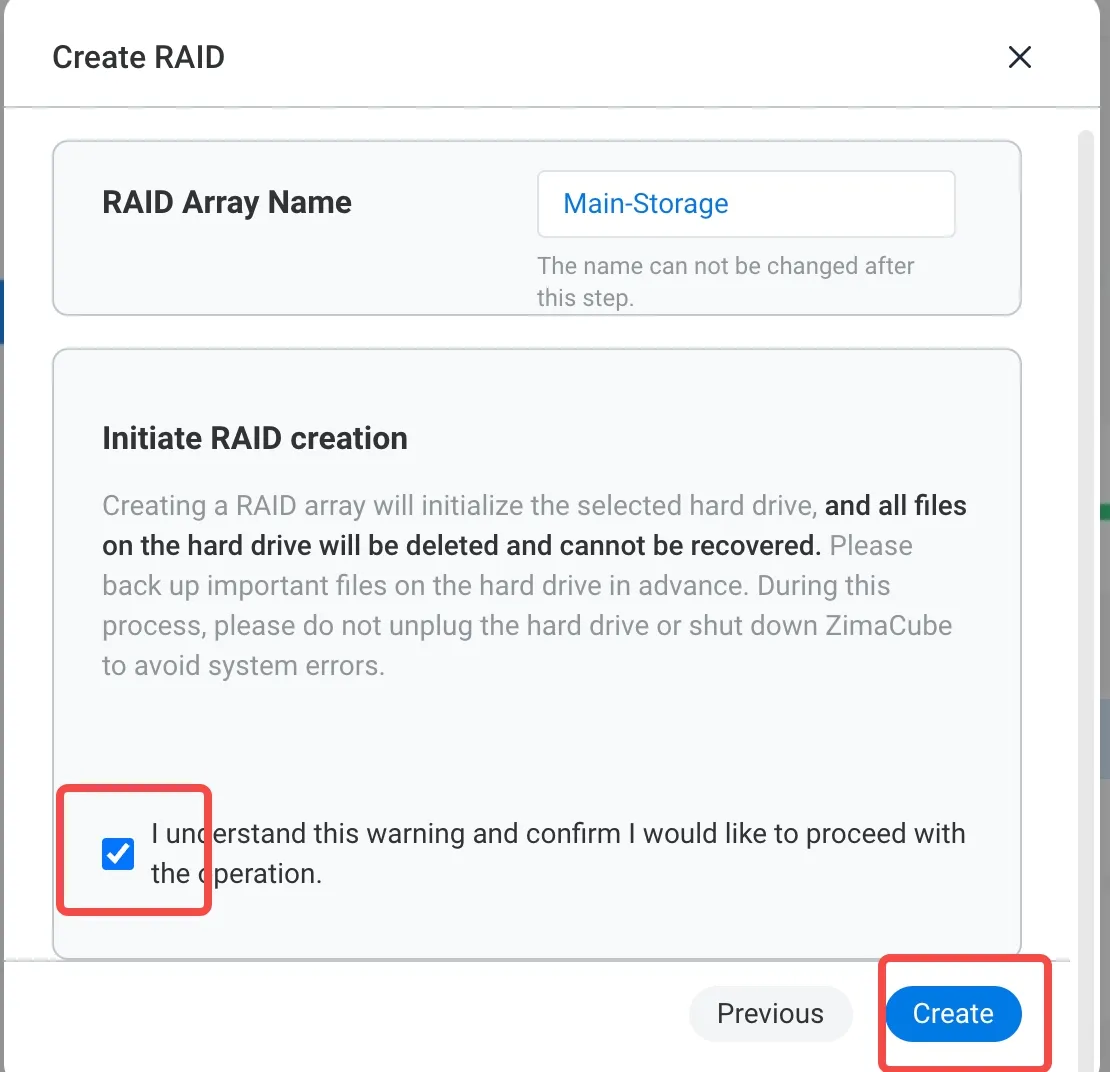
- Modify your array name and confirm.
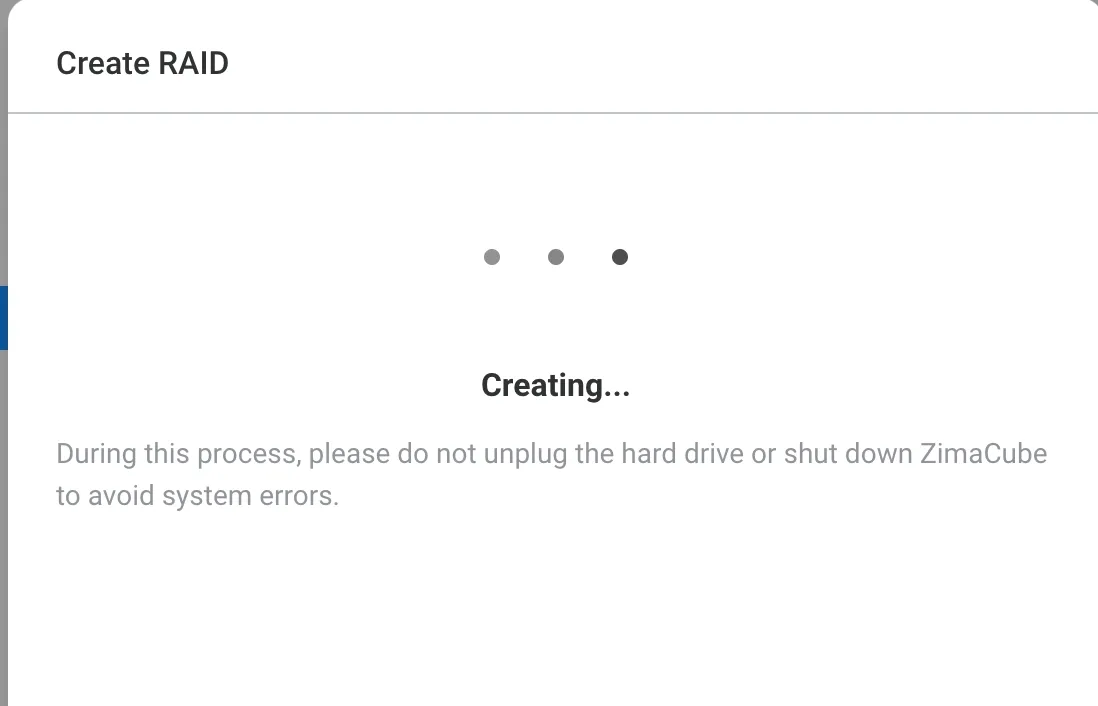
- Allow some time for initialization; depending on the size of your disks, this could take several seconds to a few minutes.
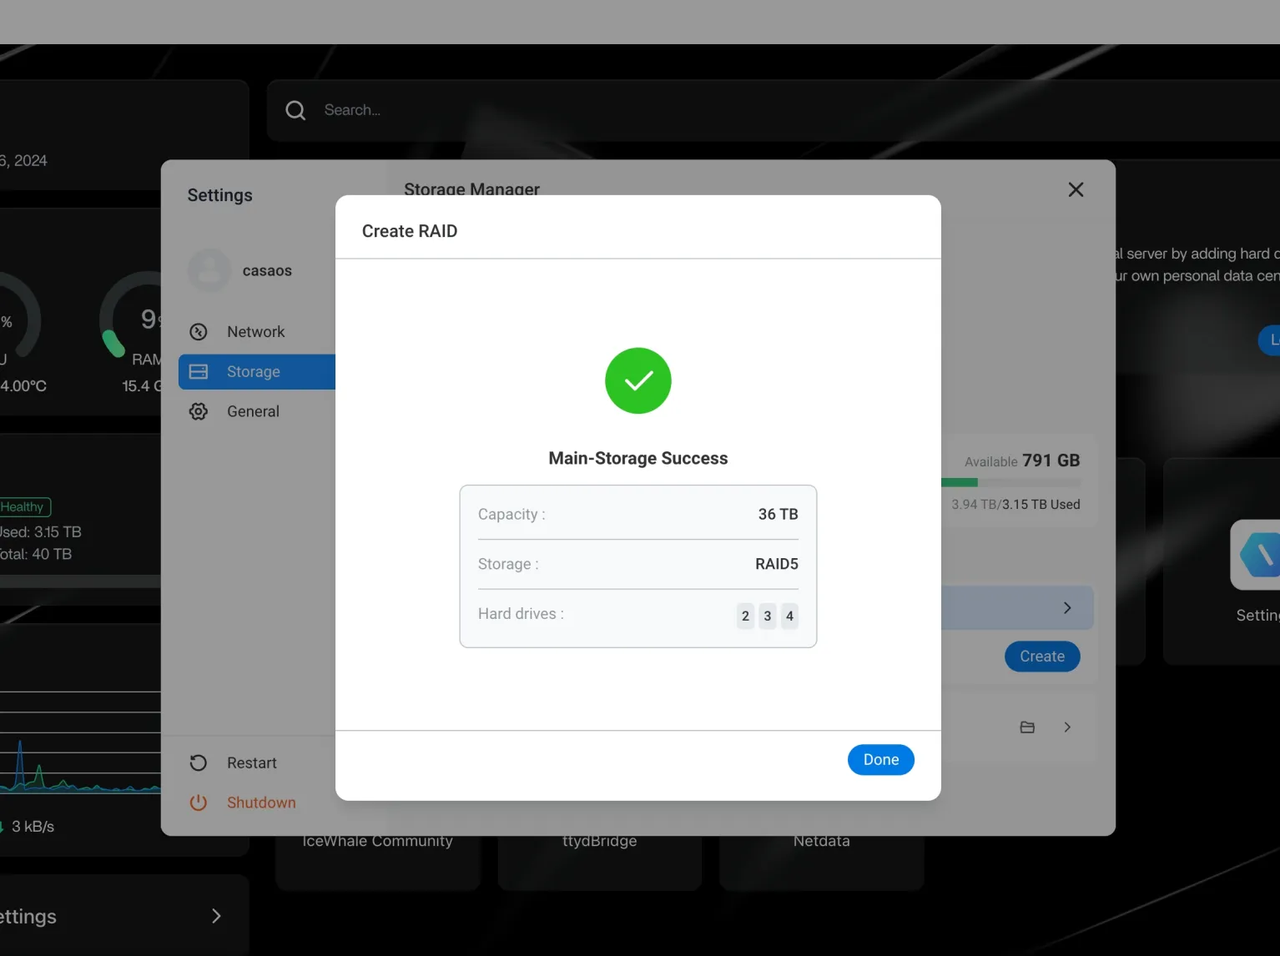
- Complete the setup and start using your RAID storage space.
More Configuration
By configuring RAID on ZimaOS, you can effectively enhance data security and system performance. Choose the appropriate RAID level based on your specific needs to achieve the optimal balance between performance and data protection. For most users, RAID 1 or RAID 5 are solid choices, depending on your space requirements and security needs.
Additionally, for users who are not satisfied with ZimaOS’s default RAID options, the system also supports ZFS for custom storage space configurations.