ZimaOS is a NAS operating system. Here are the detailed steps to help you successfully install ZimaOS V1.2.2.
Step 1: Download ZimaOS V1.2.2 Image
First, you need to download the ZimaOS V1.2.2 image file. You can download it from the following link:
Step 2: Flash the Image to a USB Drive
Once the download is complete, you need to flash the image file to a USB drive. It is recommended to use the Balena Etcher tool for this process. Here are the steps:
- Download and install Balena Etcher.
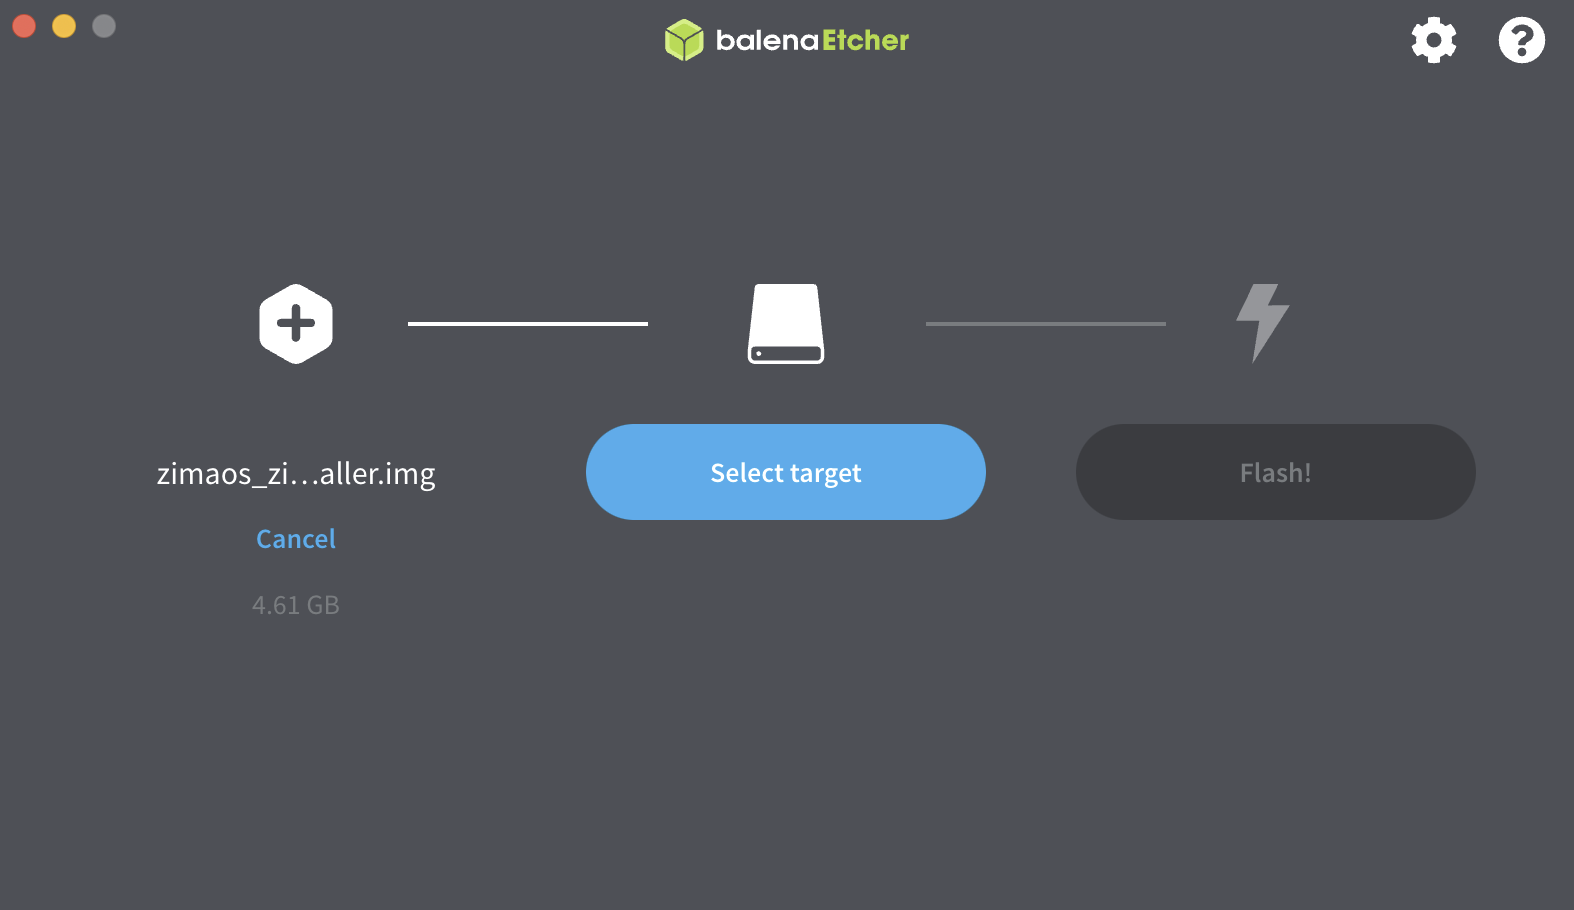
- Open Balena Etcher and select the downloaded ZimaOS image file.
- Insert the USB drive and select it as the target device.
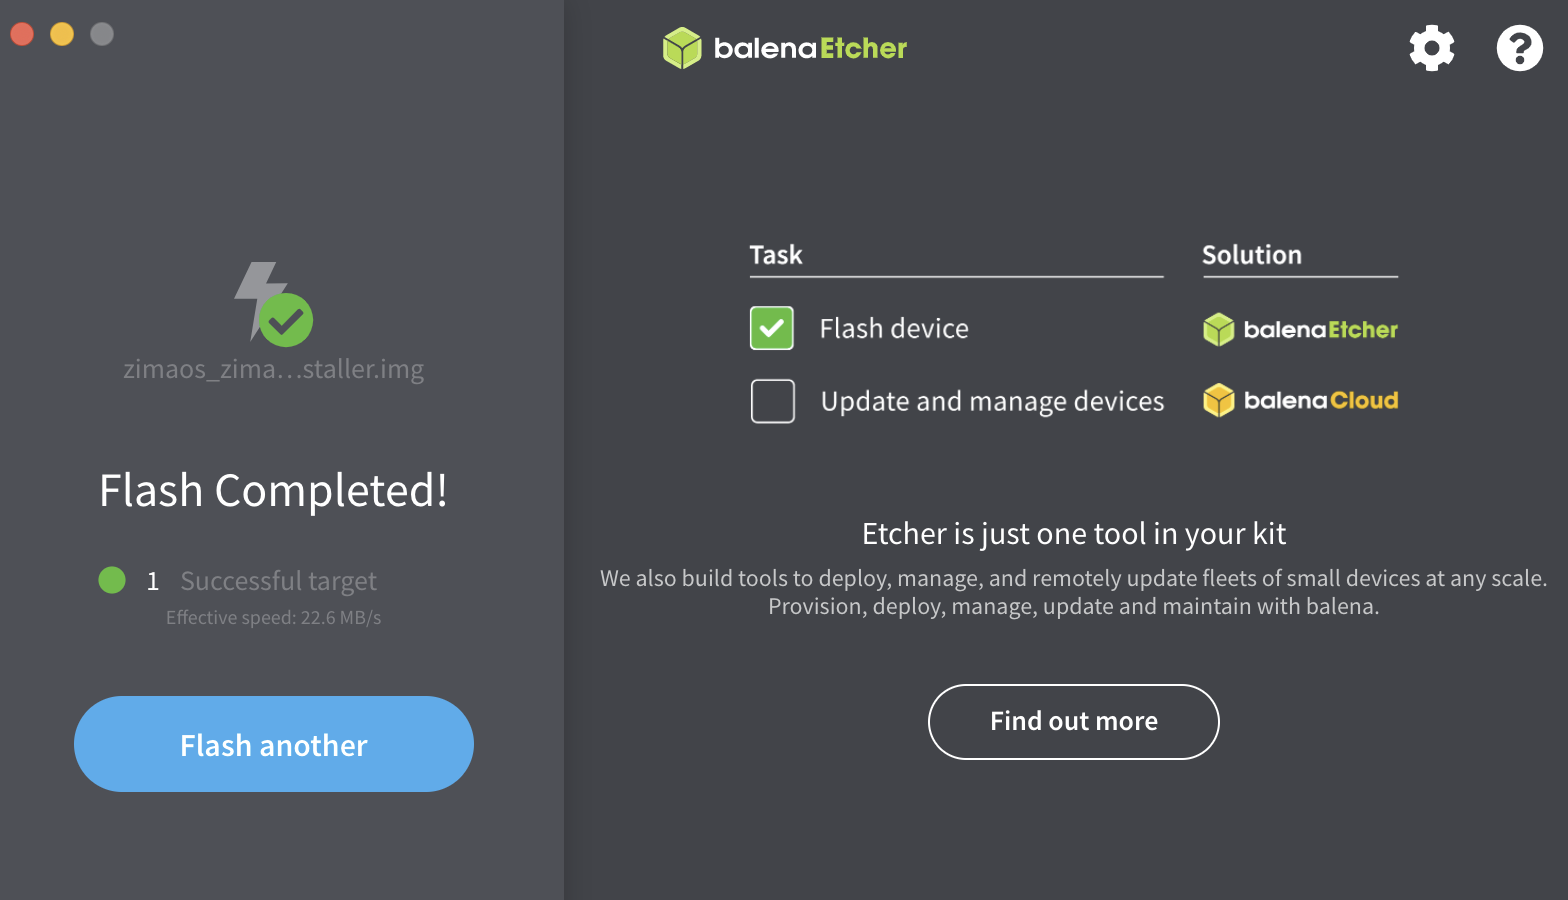
- Click the “Flash” button to start the flashing process.

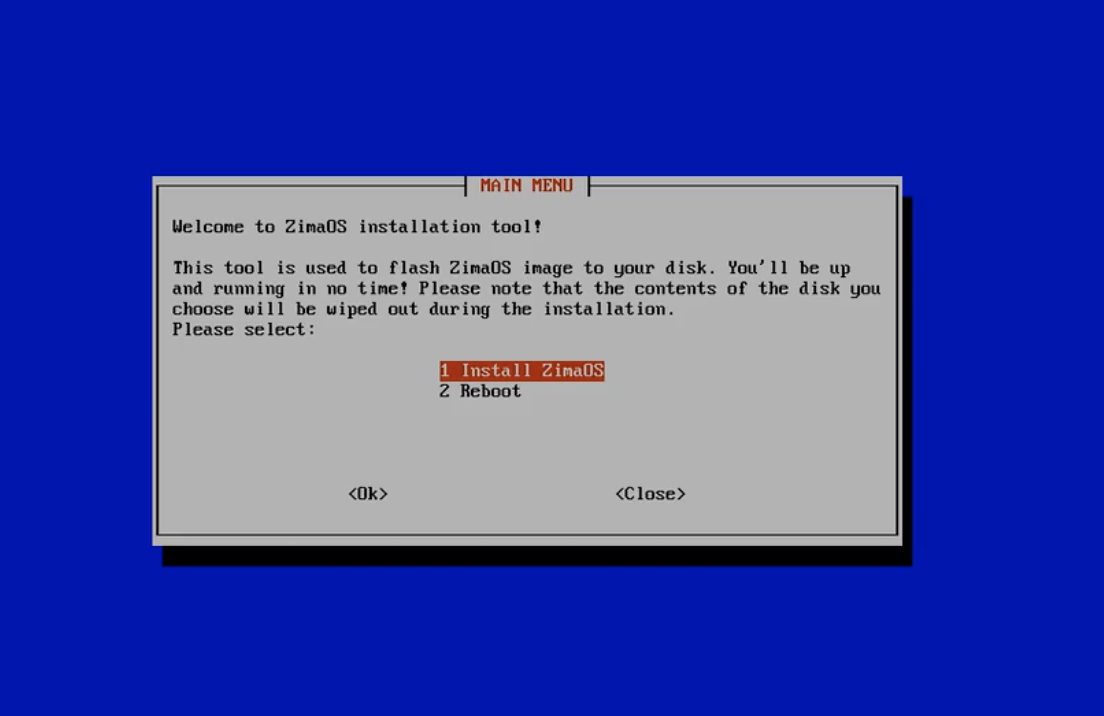
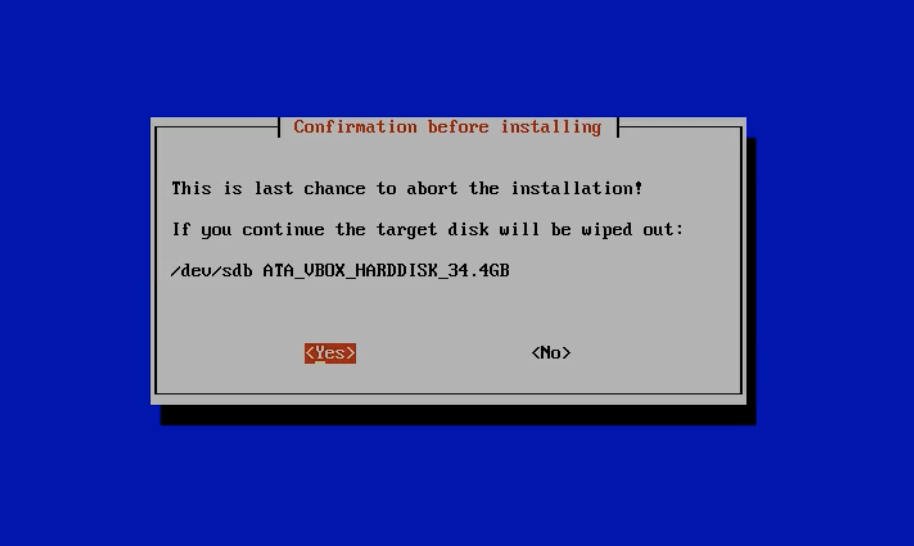
Step 3: Boot ZimaCube and Start the Installation
- Insert the USB drive with the flashed ZimaOS image into the USB port of ZimaCube.
- Select boot from USB

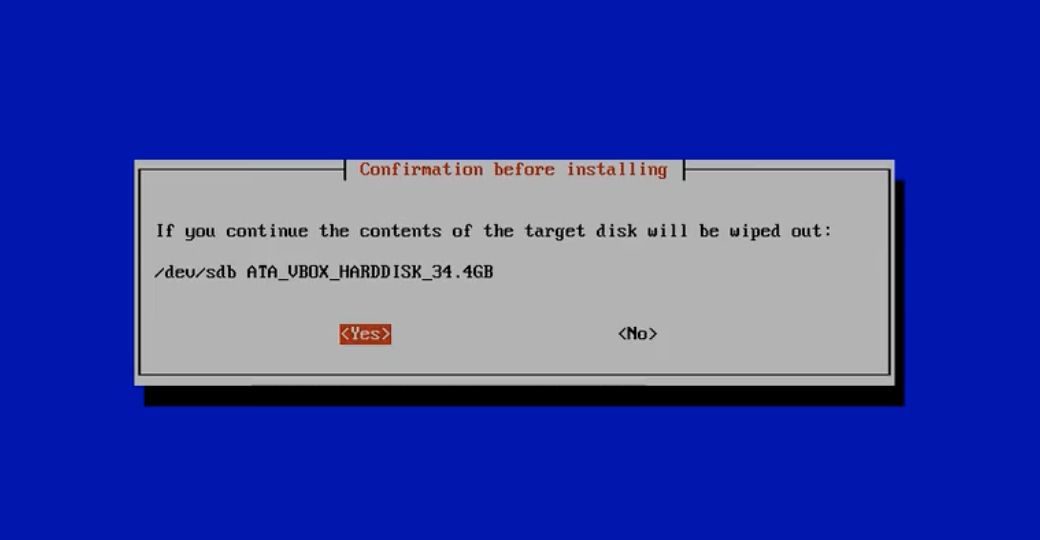
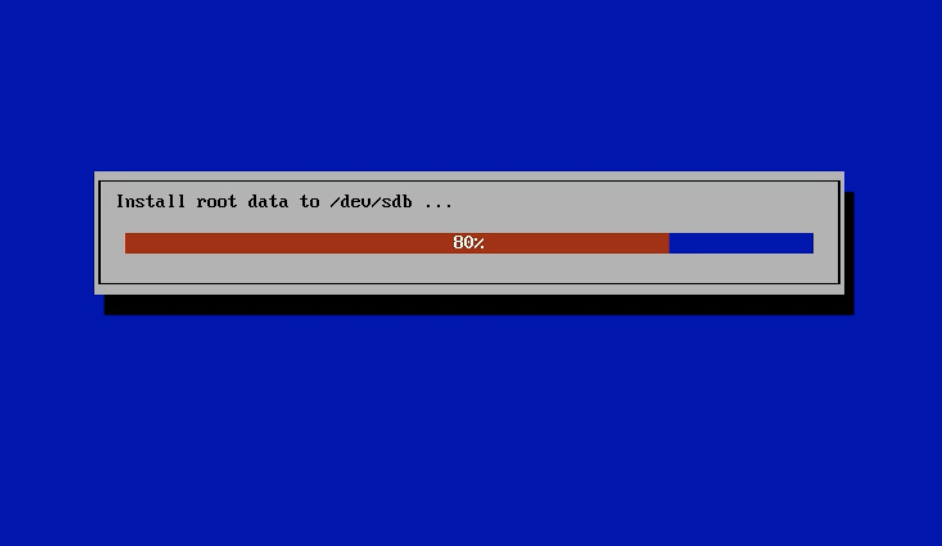
Step 4: Complete the Installation
Once the installation process is complete, the system will prompt you to remove the USB drive. At this point, you need to remove the USB drive and restart ZimaCube. The system will automatically boot into ZimaOS V1.2.2.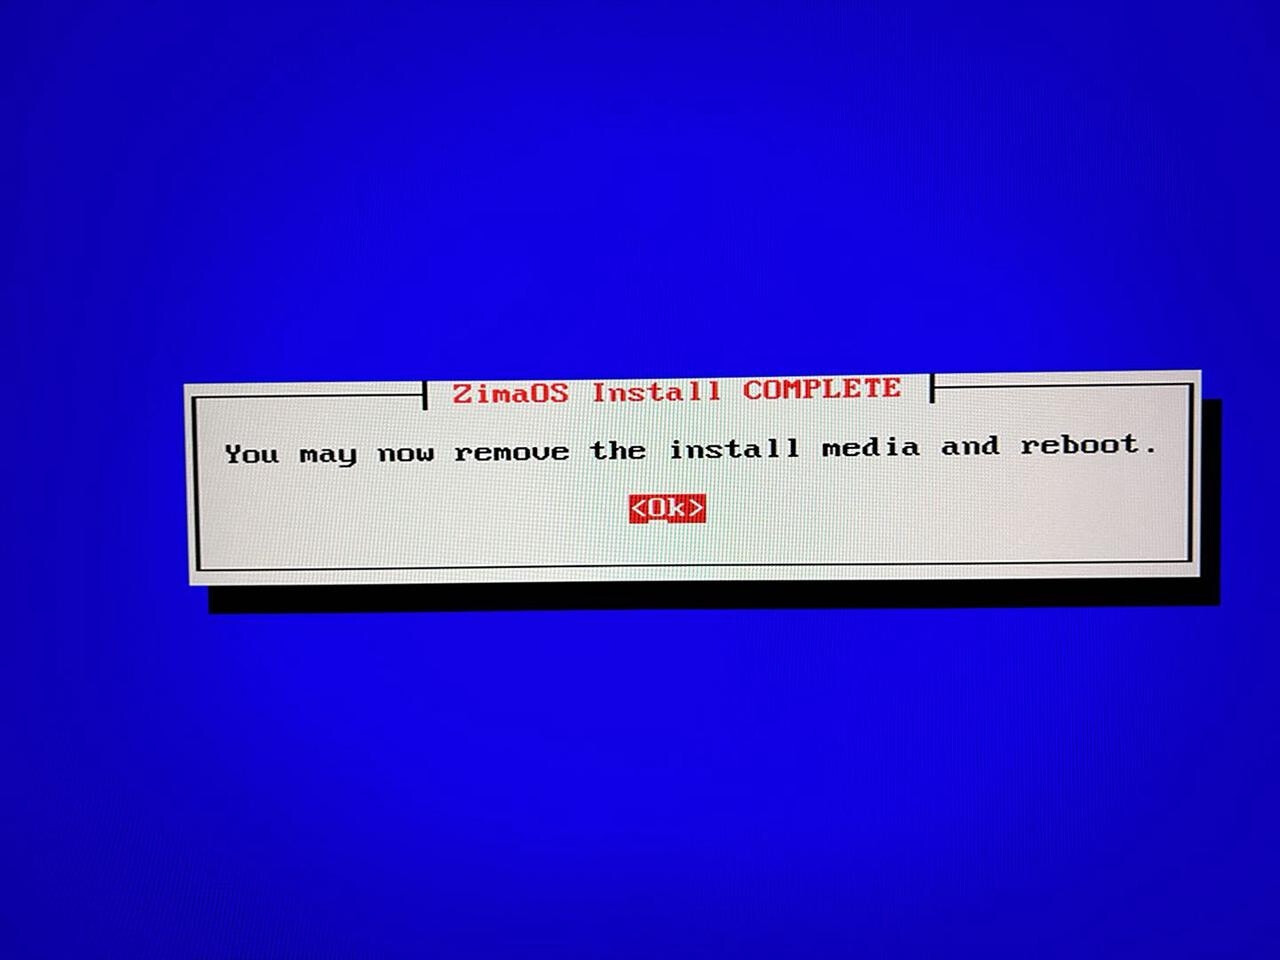
Step 5: Obtain IP Address and Access ZimaOS
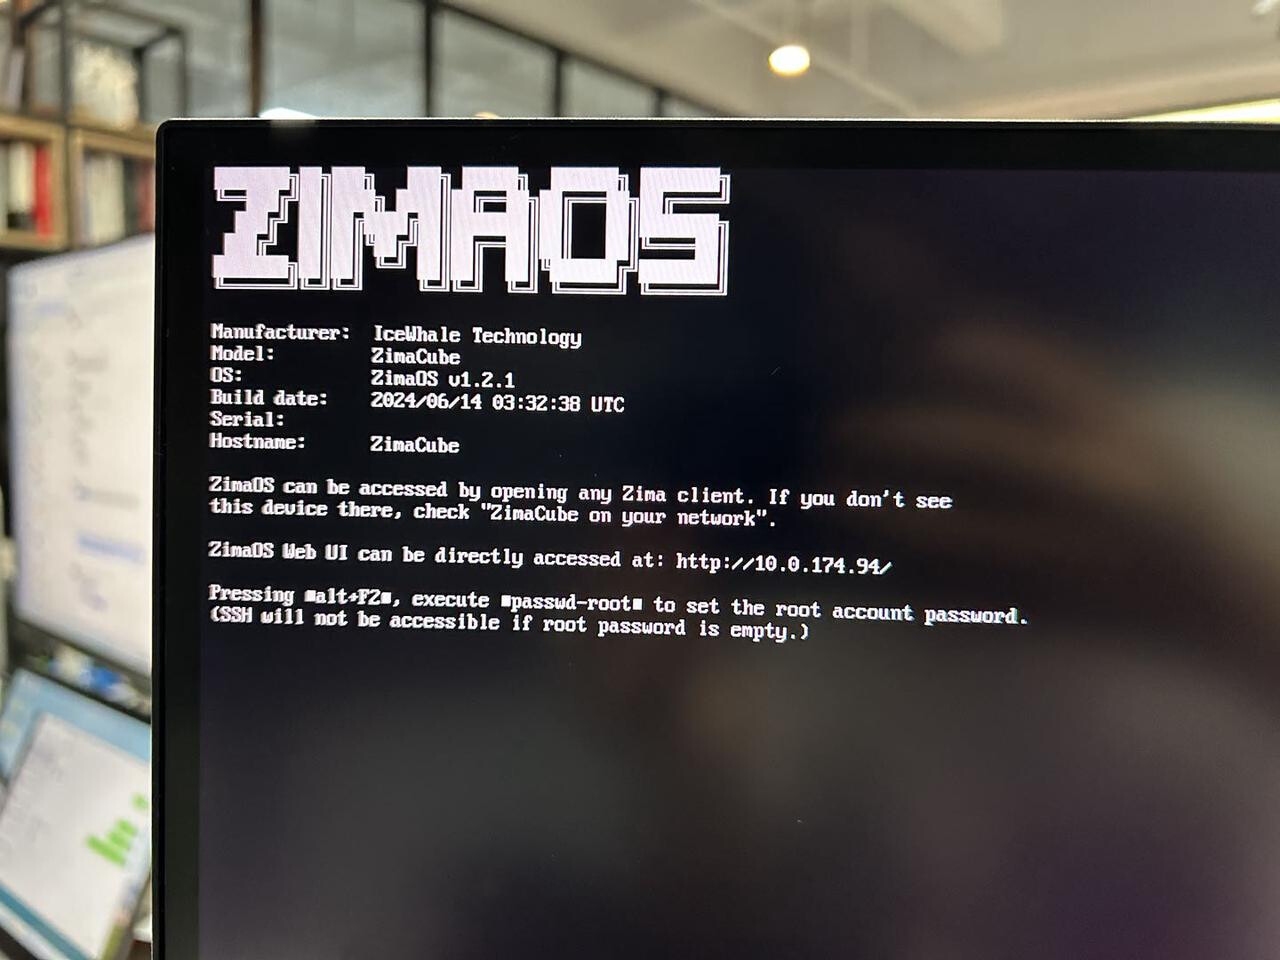
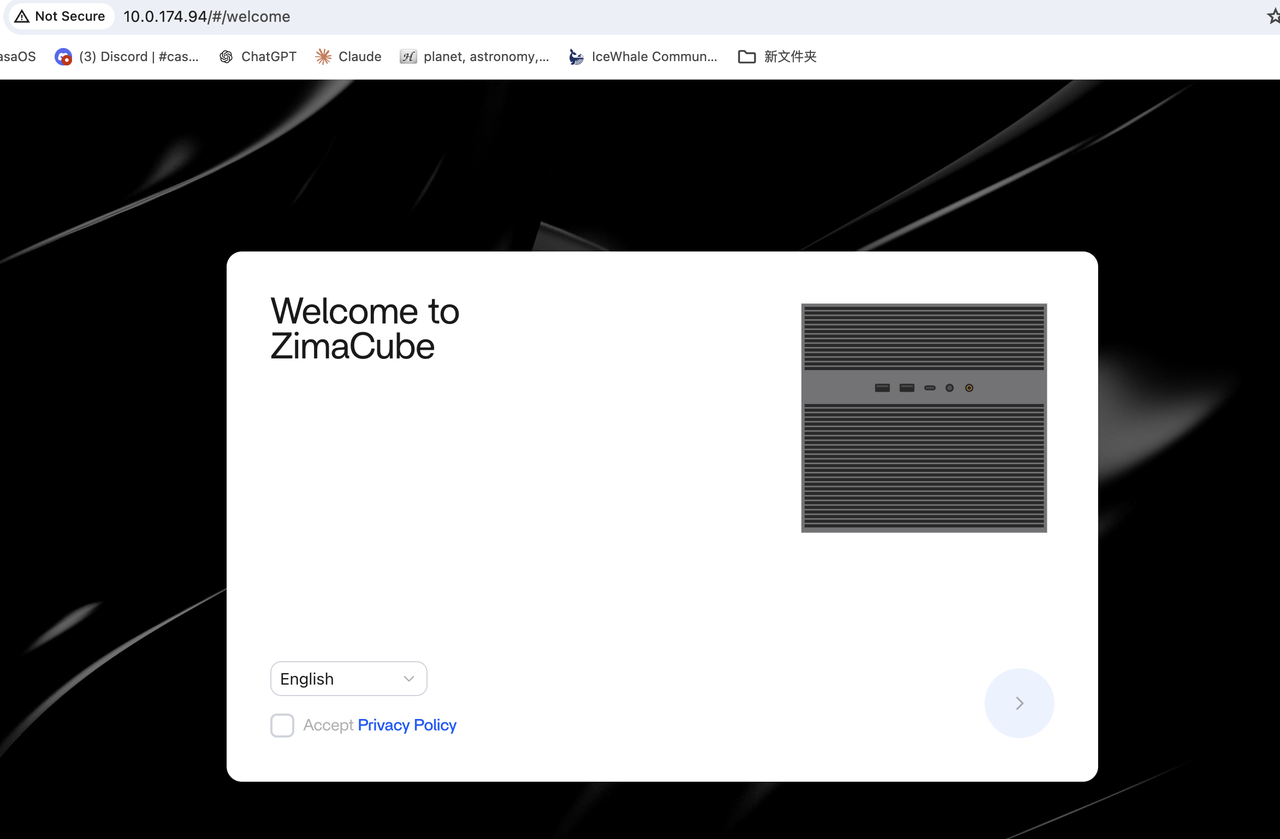
Congratulations! You have successfully installed ZimaOS V1.2.2 on your ZimaCube. Now you can start exploring and utilizing the rich features provided by ZimaOS.
For more information, please visit ZimaOS GitHub Repository.